
MP81's Supercharged L61 Build


Thread Starter
Senior Member
iTrader: (2)
Joined: 07-10-08
Posts: 1,708
Likes: 3
From: Washington Township, MI
Yeah - that's possible... I was actually thinking of putting the jack under the motor and pushing it up.
My car has about 35k miles on it...
Here's the 6-Pin to 8-Pin conversion I'm using, Gene.
8 Pin
Pin A (Dark Green): TP Sensor 1 Signal
Pin B (Light Blue/Black): 5-Volt Ref 2
Pin C (Black): Low Reference
Pin D (Purple): TP Sensor 2 Signal
Pin E (Yellow): TAC Motor control 1
Pin F (Brown): TAC Motor control 2
Pin G (Gray): 5-Volt Ref 1
Pin H (Black/White): Low Reference
6-Pin
Pin A (Brown): TAC Motor control 2
Pin B (Yellow): TAC Motor control 1
Pin C (Tan): Low Reference
Pin D (Dark Green): TP Sensor 1 Signal
Pin E (Gray): 5-Volt Reference
Pin F (Purple): TP Sensor 2 Signal
8-Pin >>> 6 Pin
A > D (Dark Green)
B > E (Gray)
C > C (Tan)
D > F (Purple)
E > B (Yellow)
F > A (Brown)
G > E (Gray)
H > C (Tan)
B/G both go to Pin E (Gray)
C/H both go to Pin C (Tan)
Thread Starter
Senior Member
iTrader: (2)
Joined: 07-10-08
Posts: 1,708
Likes: 3
From: Washington Township, MI
Ahh - late update, cause I went to see Transformers 2 (I really should be sleeping, but I had caffine, so I'll just wake up later...  ). AWESOME movie, by the way.
Started off the morning searching for a soldering iron/gun - my dad remembered he had an electric soldering gun buried in his truck. I dug it out - and it too, was dead. (either that or, we're too impatient for it to heat up). He went out to buy a new one, and I started on the car.
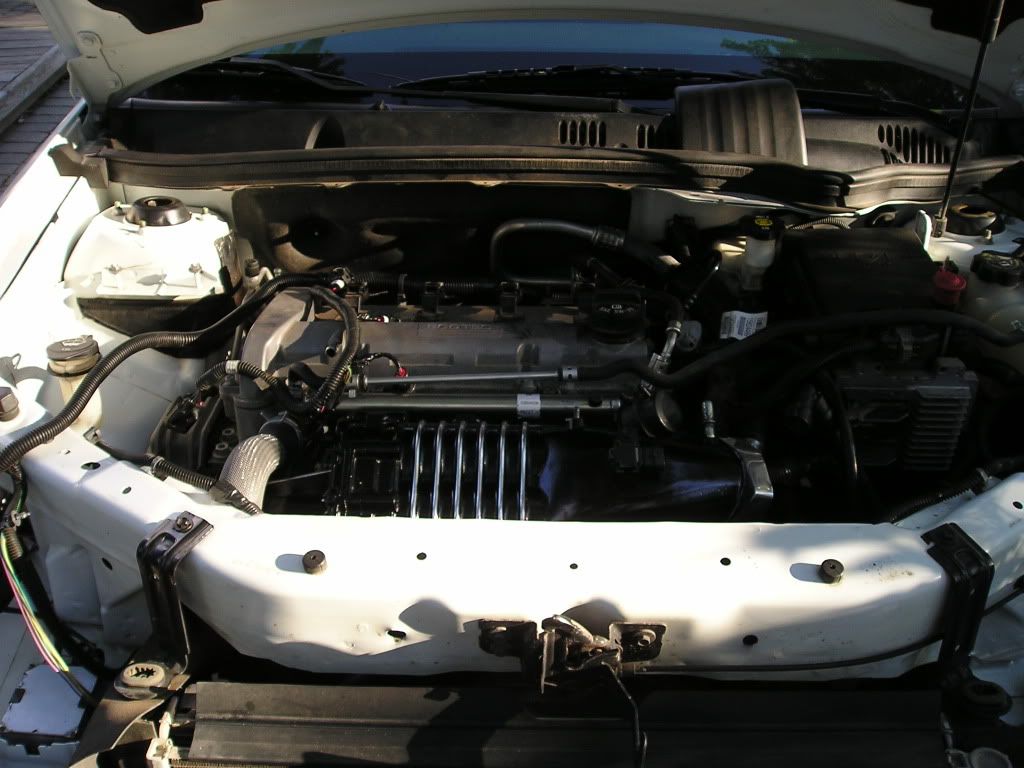
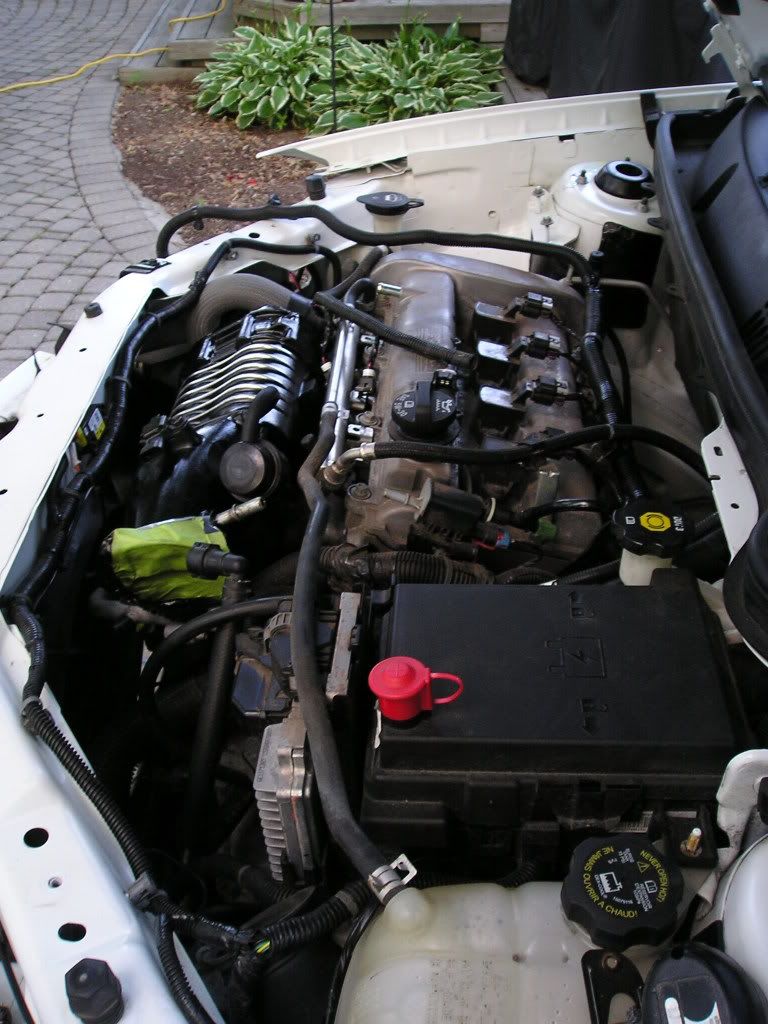
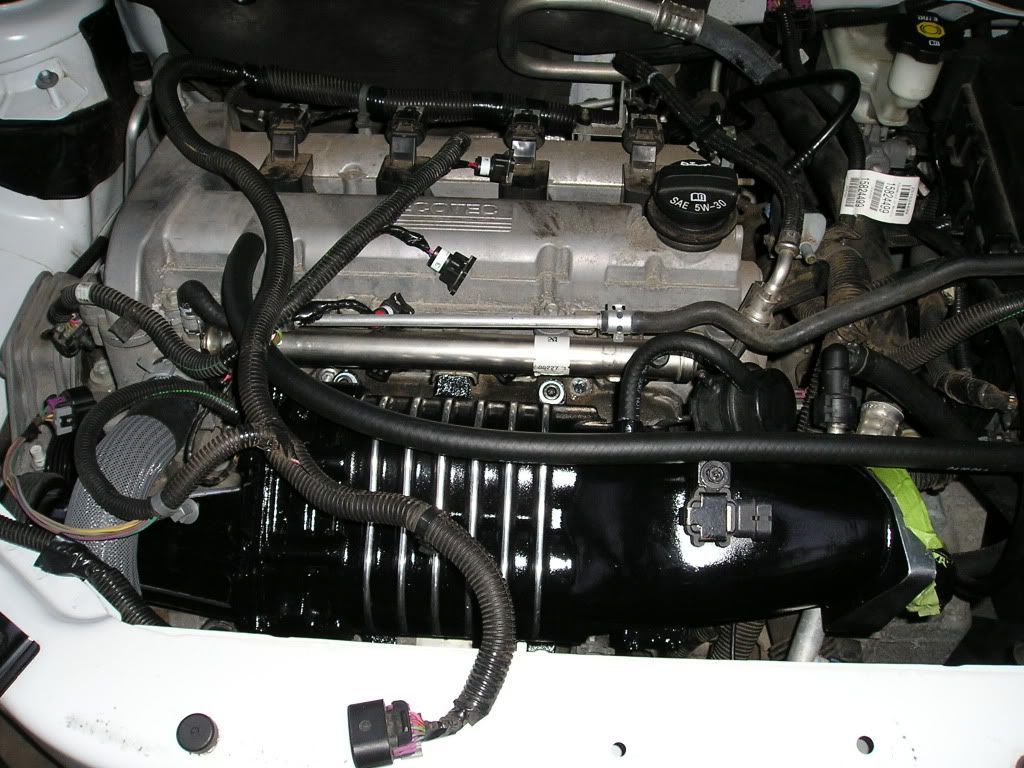
I got the new upper radiator hose on:
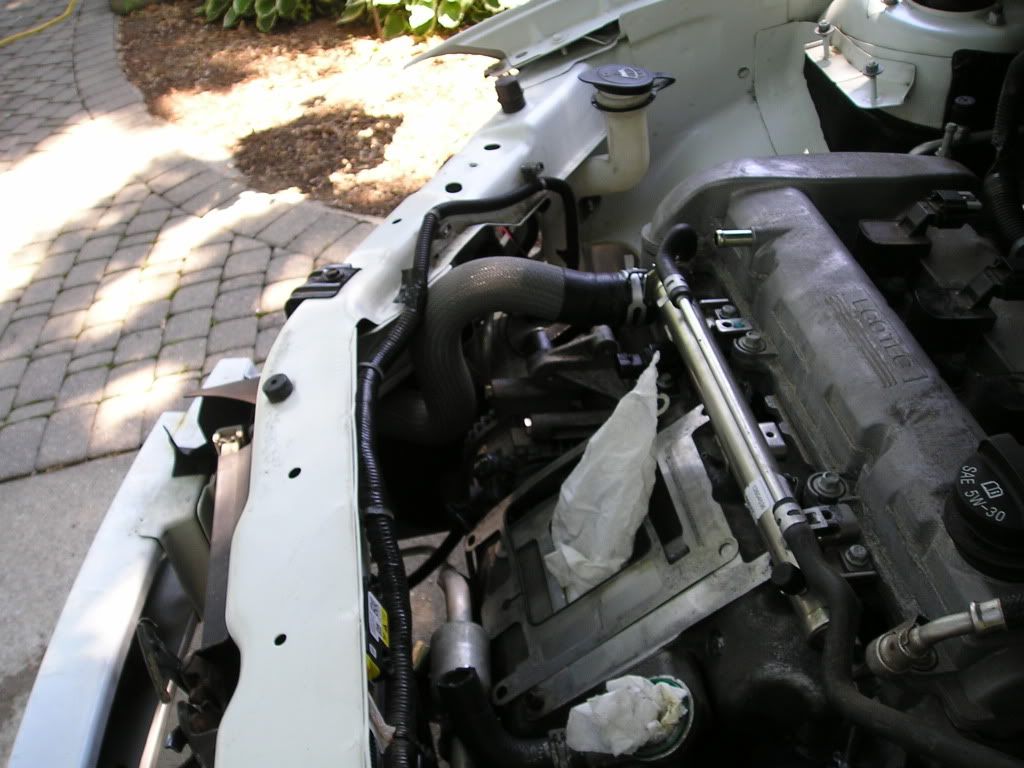
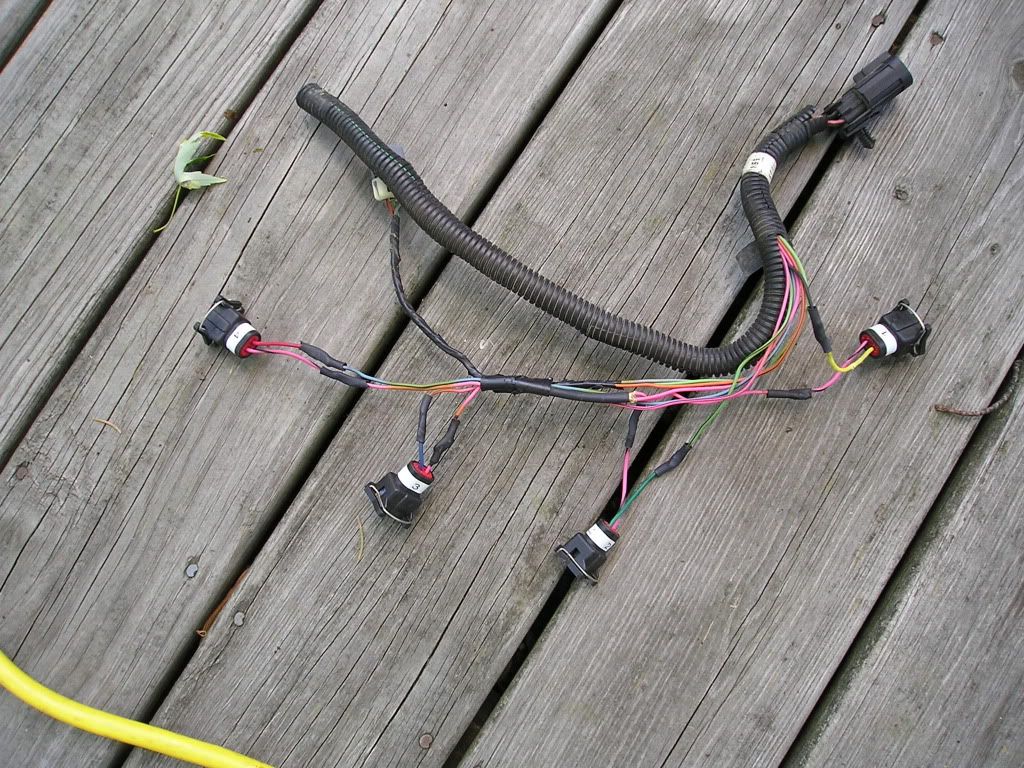
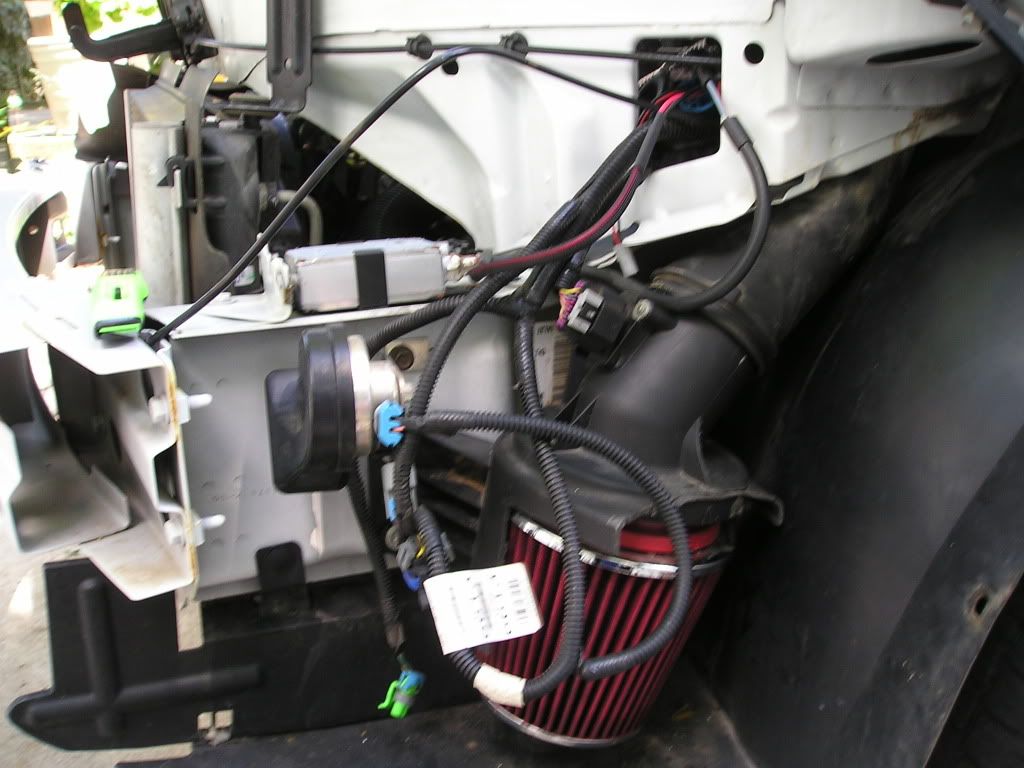
Here's the soldered up injector harness with the new connectors for the Lucas #42s I'm running:
Undid all the loom to move the MAF over to the driver side of the car (which is where the new MAF location is):
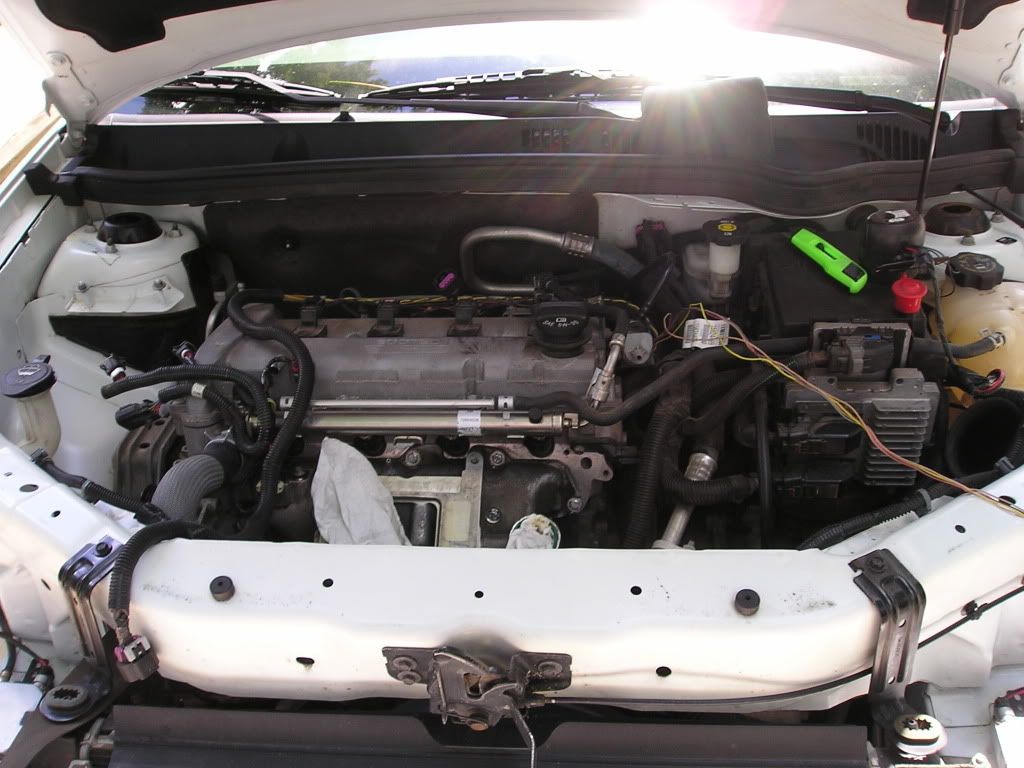

Bought some wire loom and put it over the MAF wires:
Can't even tell:
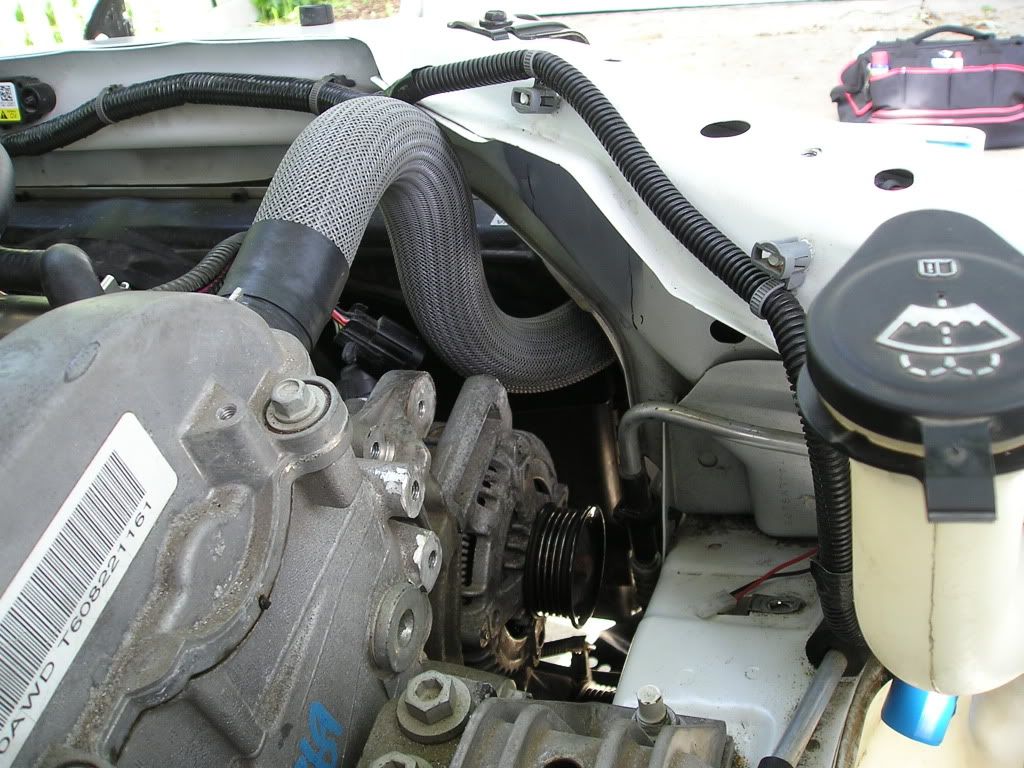
Cut one rib off my Stage 2 belt (so it can fit the Crank, AC and alternator pulleys):
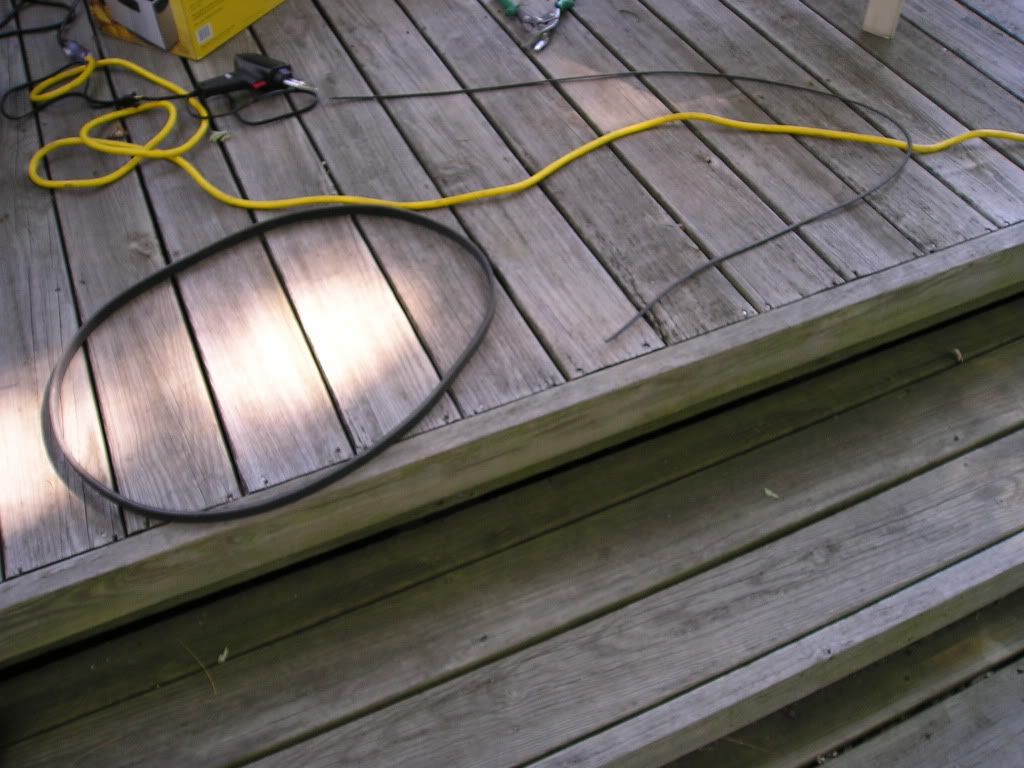
Belt "installed":
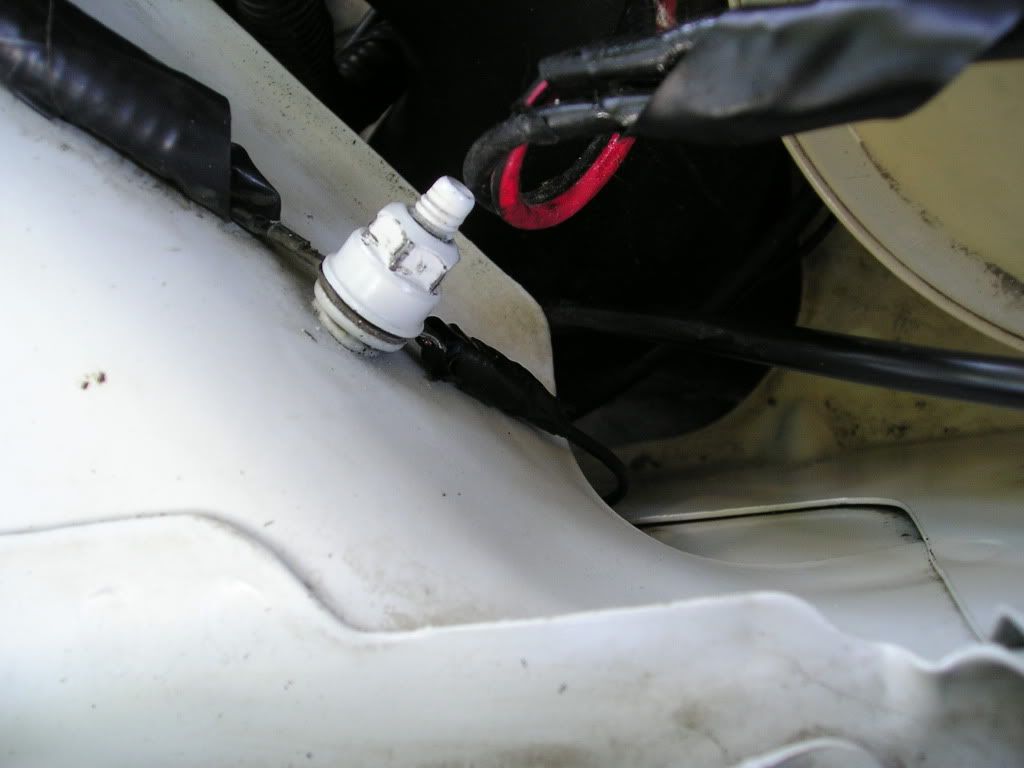
Wired up the Heat Exchanger Pump:
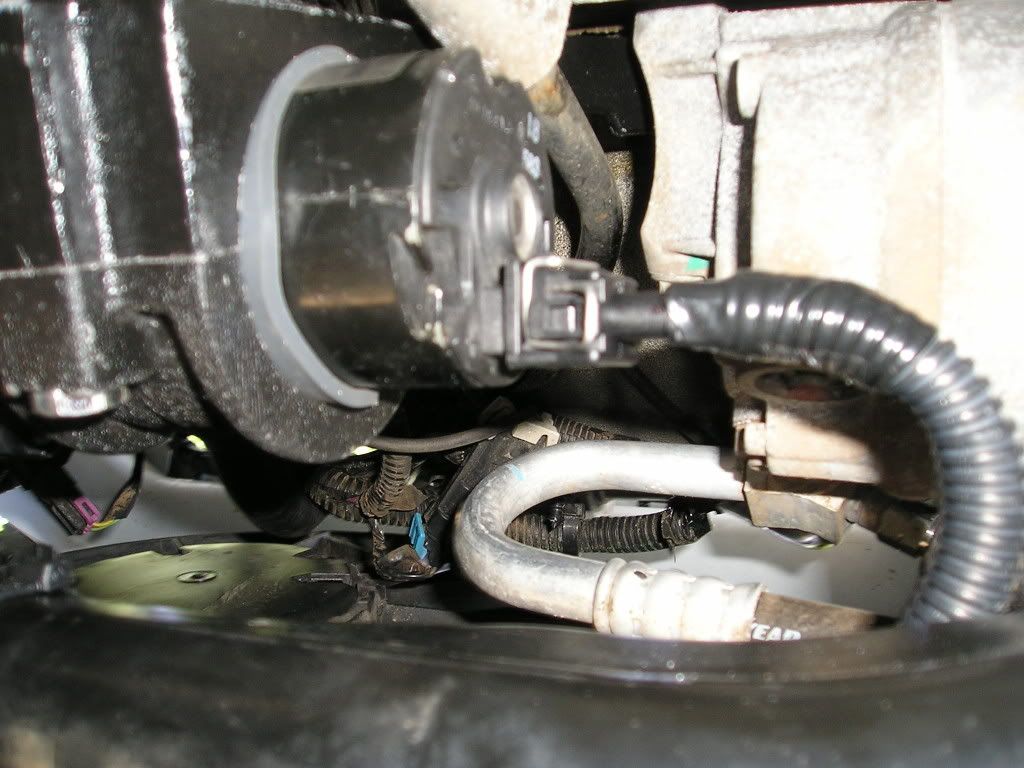
LSJ Brake Booster Hose:
Wiring in the fuse box for the Heat Exchanger Pump - Add a Fuse, turns on with the fuel pump:
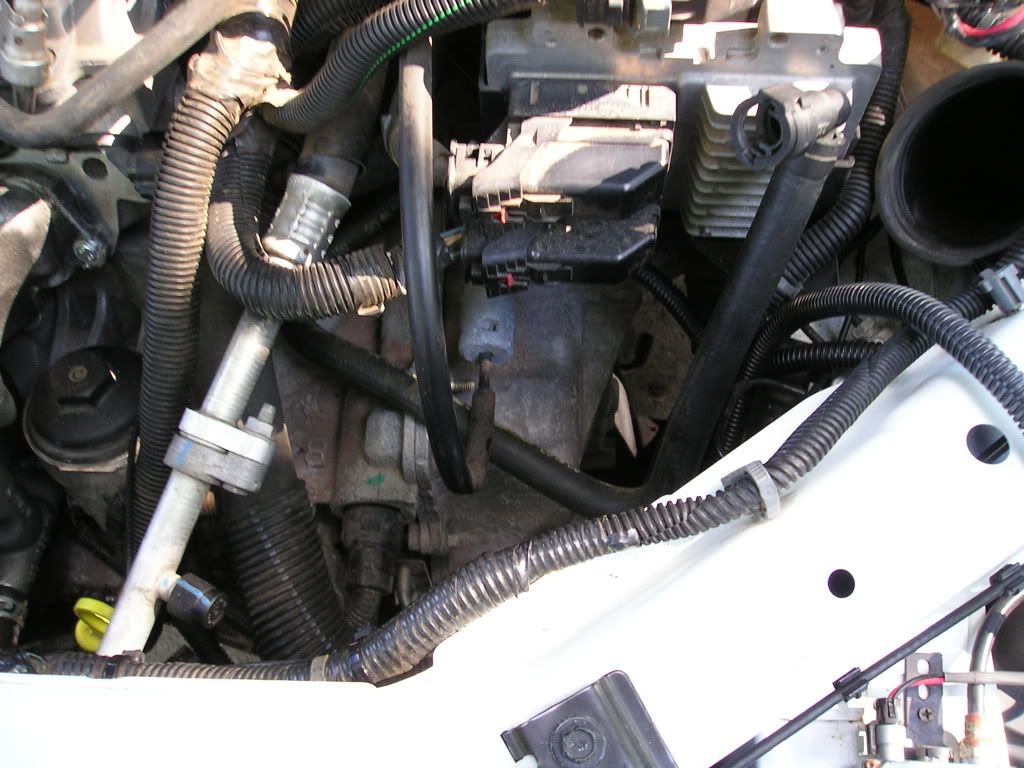
All closed up - once again, very clean, I must say:
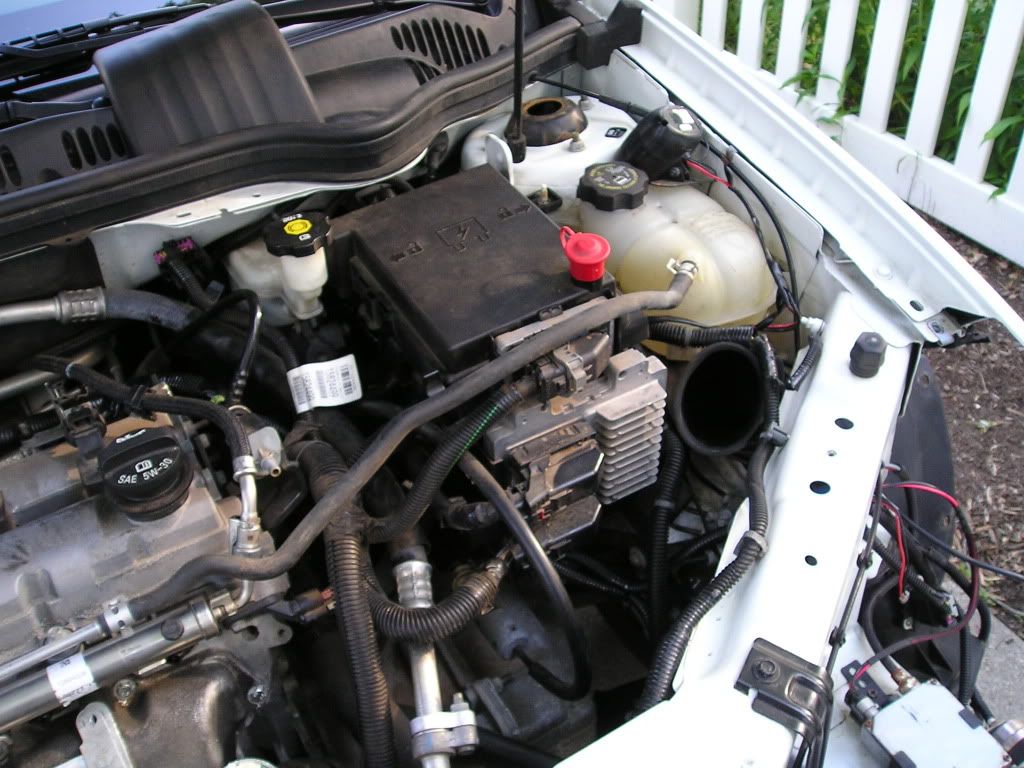

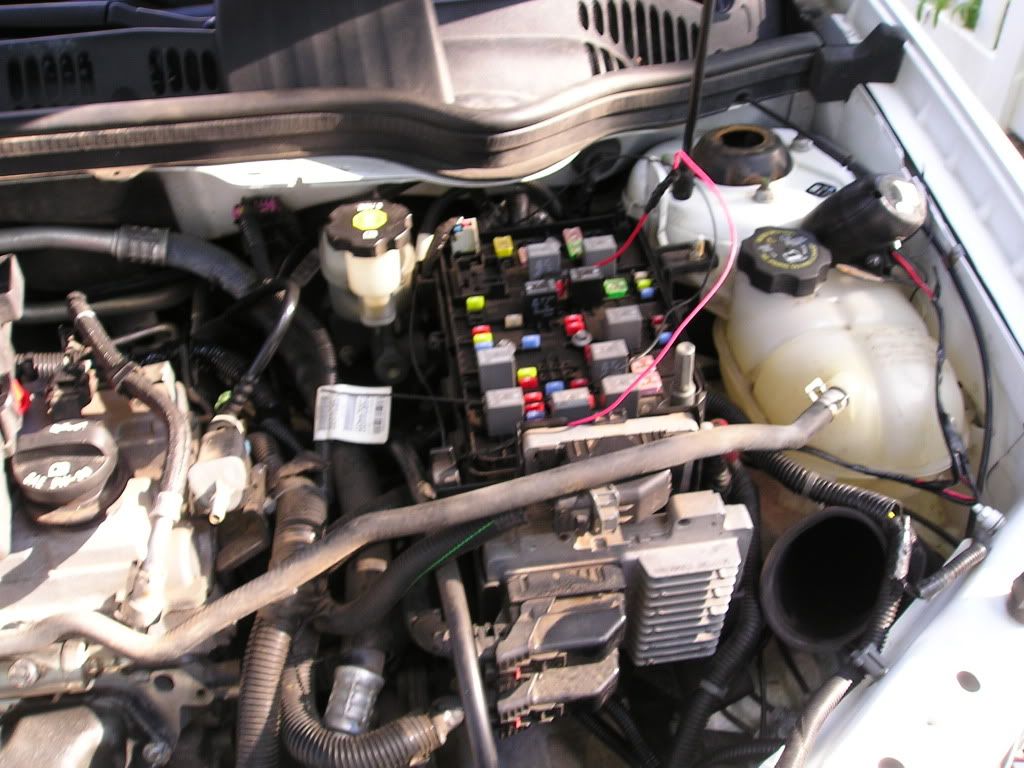
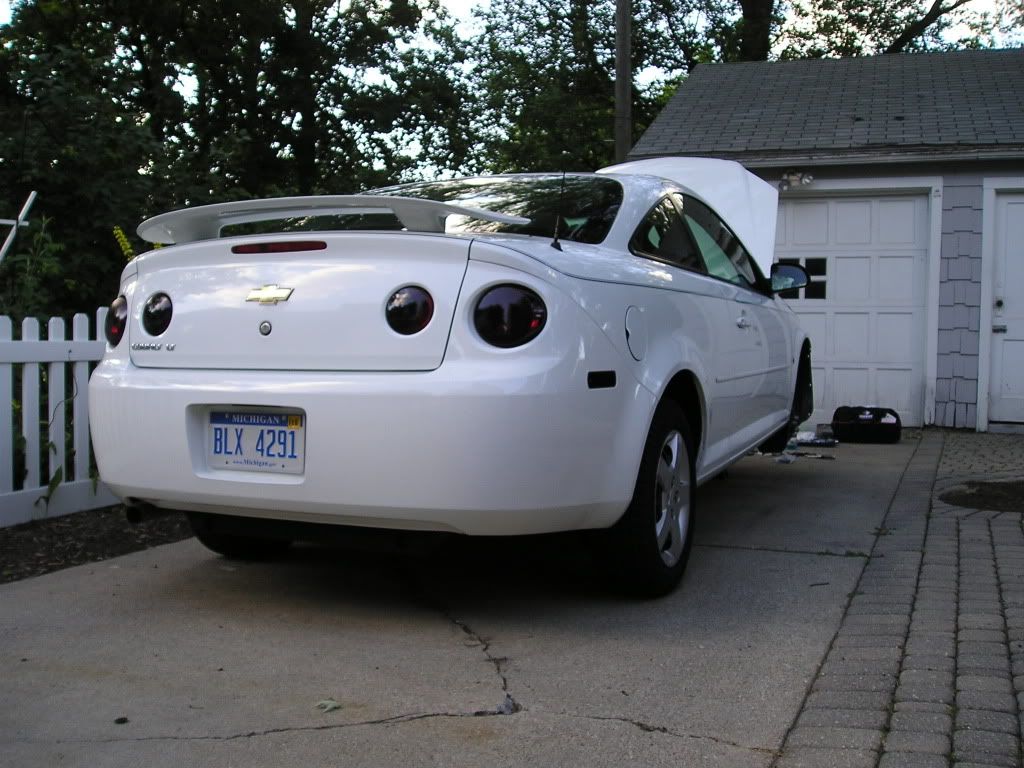
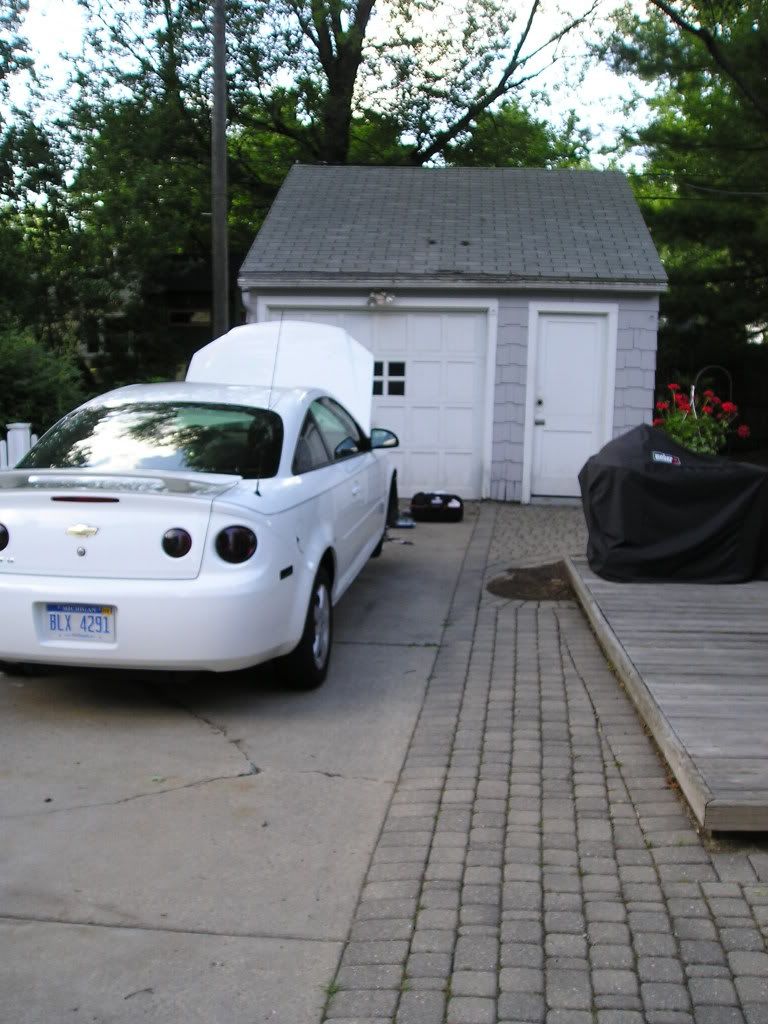
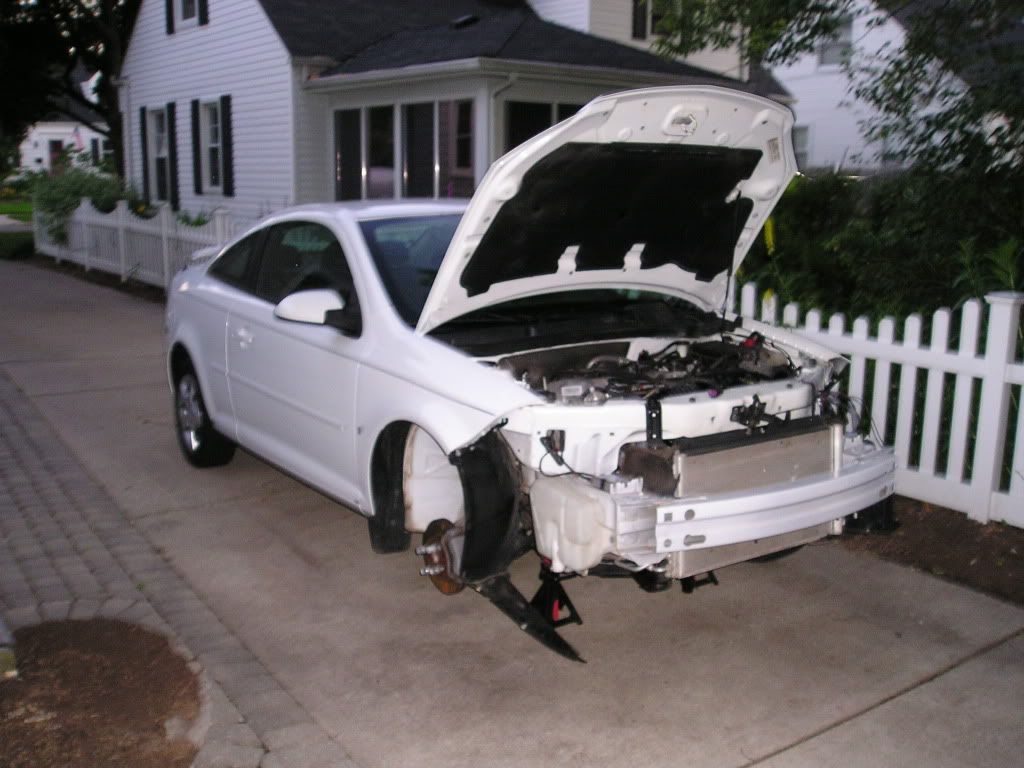
Misc pictures of the car:

Started off the morning searching for a soldering iron/gun - my dad remembered he had an electric soldering gun buried in his truck. I dug it out - and it too, was dead.
I got the new upper radiator hose on:
Here's the soldered up injector harness with the new connectors for the Lucas #42s I'm running:
Undid all the loom to move the MAF over to the driver side of the car (which is where the new MAF location is):
Bought some wire loom and put it over the MAF wires:
Can't even tell:
Cut one rib off my Stage 2 belt (so it can fit the Crank, AC and alternator pulleys):
Belt "installed":
Wired up the Heat Exchanger Pump:
LSJ Brake Booster Hose:
Wiring in the fuse box for the Heat Exchanger Pump - Add a Fuse, turns on with the fuel pump:
All closed up - once again, very clean, I must say:
Misc pictures of the car:
Thread Starter
Senior Member
iTrader: (2)
Joined: 07-10-08
Posts: 1,708
Likes: 3
From: Washington Township, MI
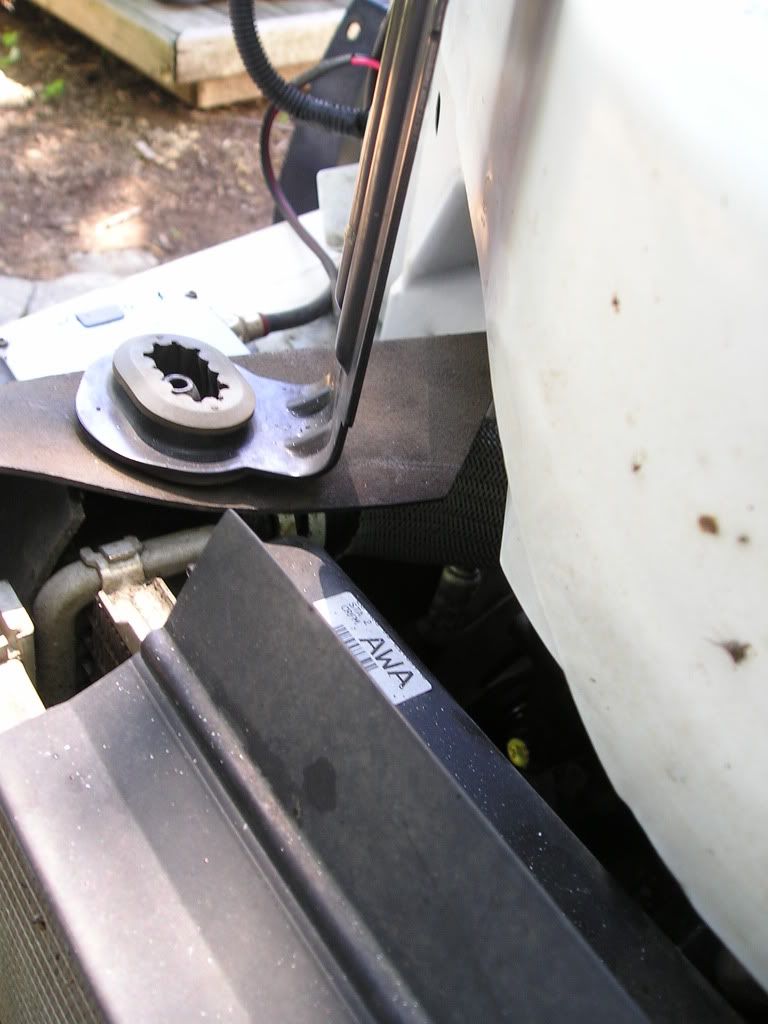
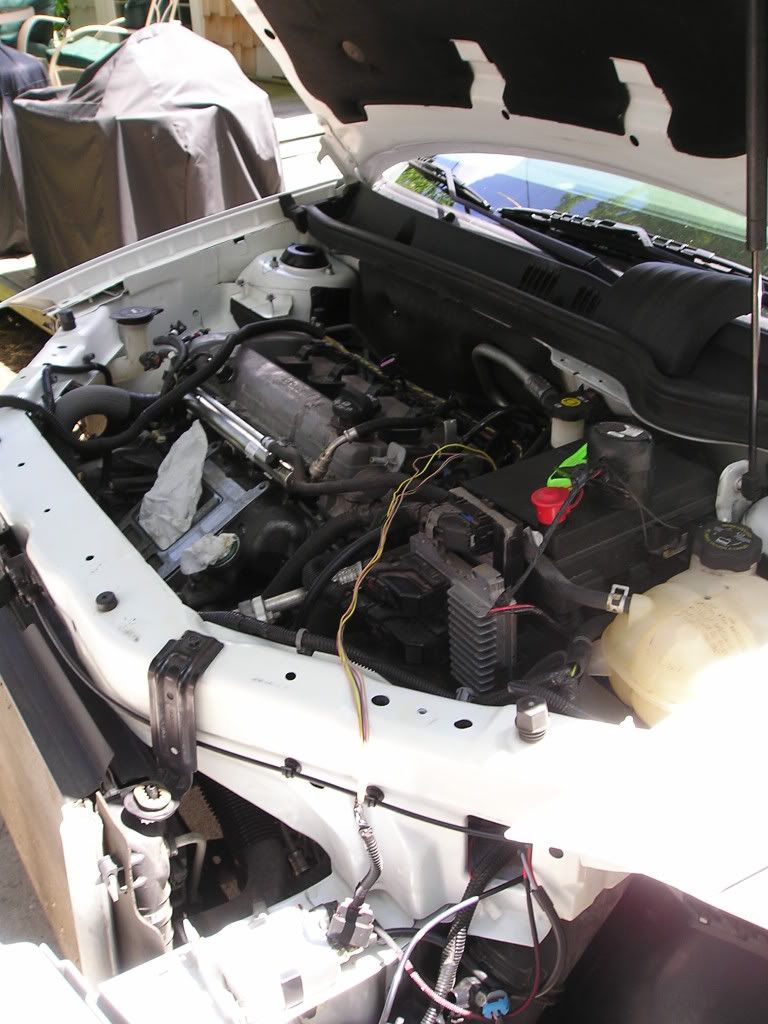
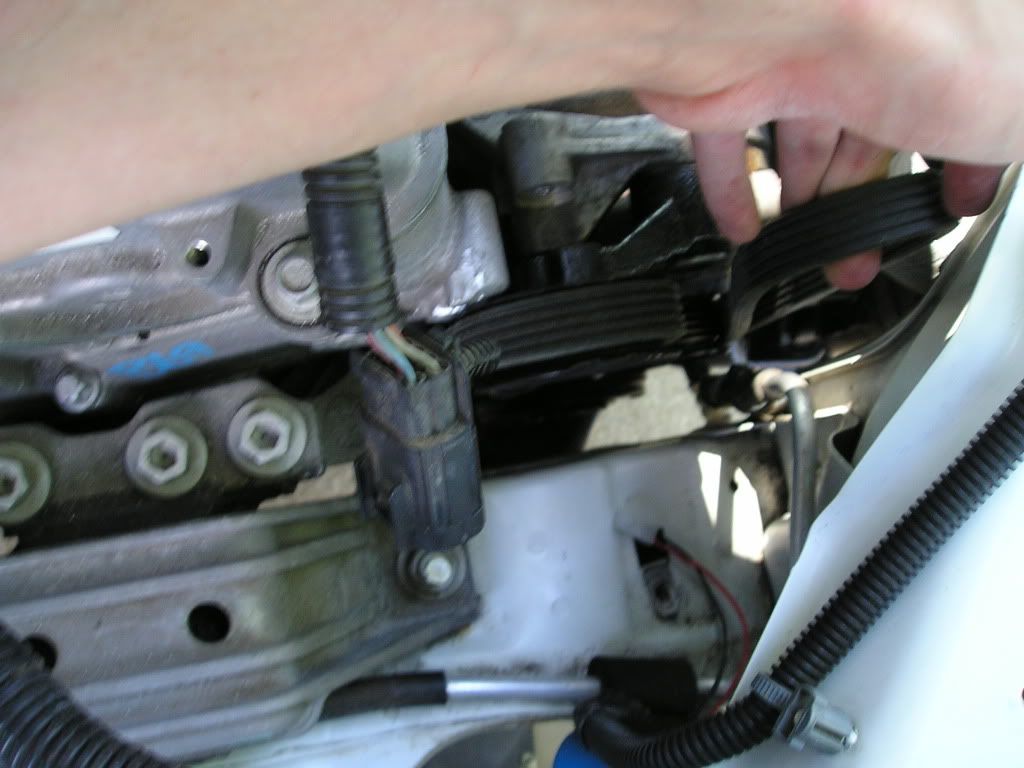
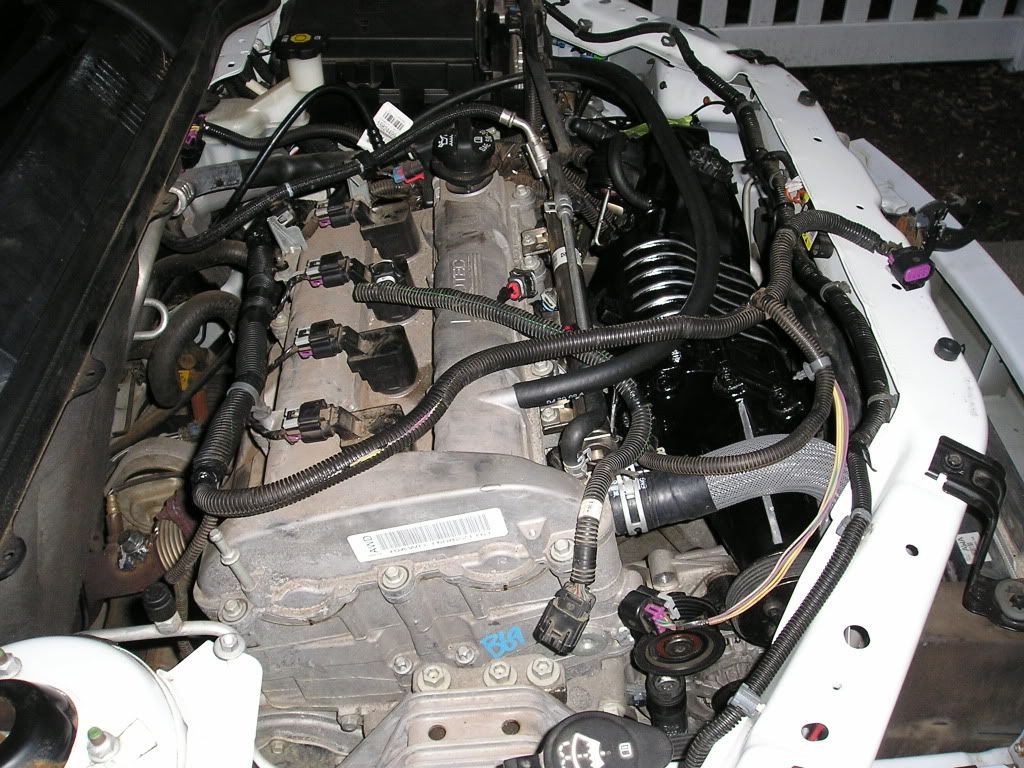
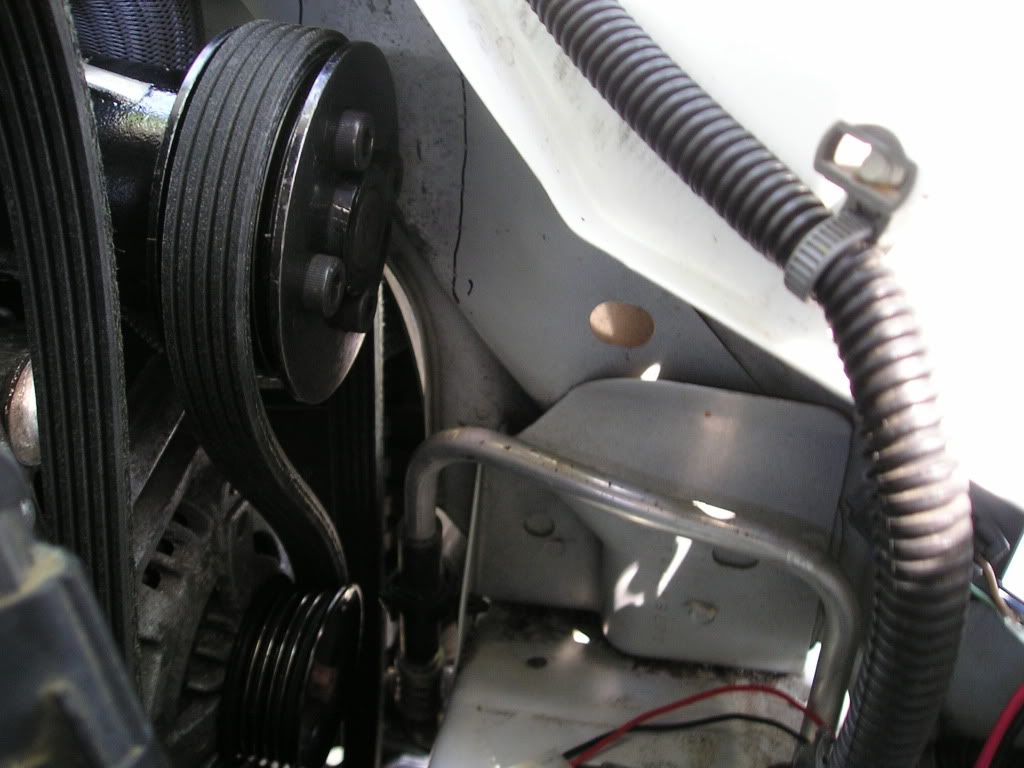
Installed the Supercharger...and noticed this...
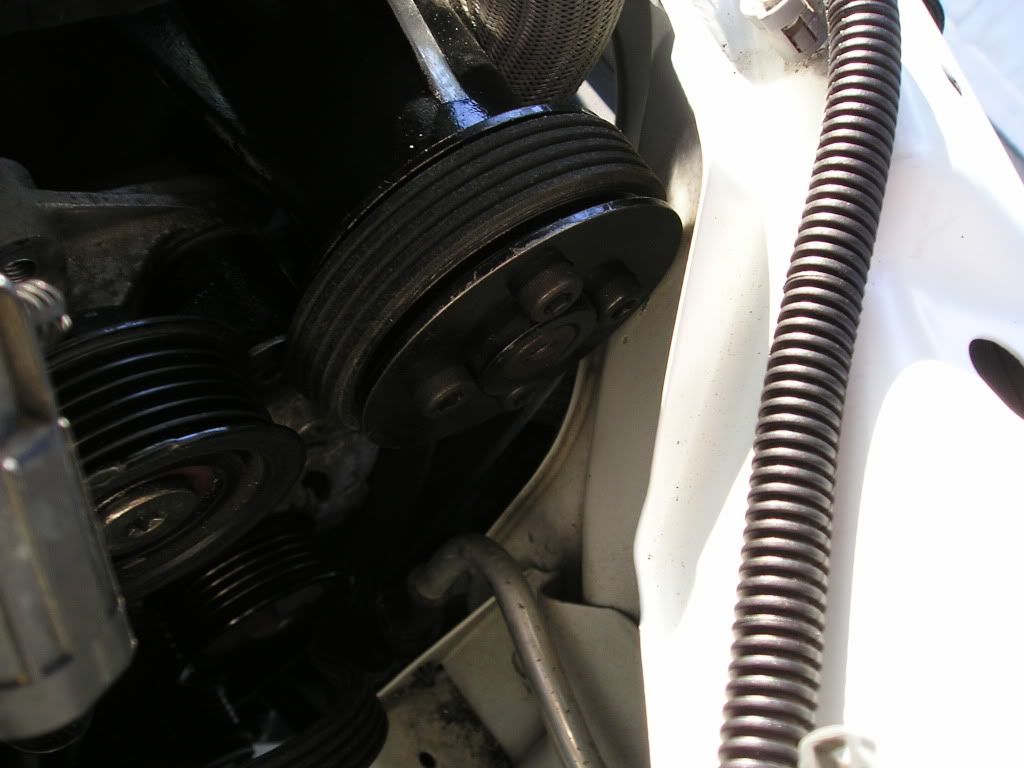

There's about 1mm of clearance between the pulley and the "core support". I should be able to wrap my hand around the STOCK pulley - and this one is smaller than stock. We (Gene and I) theorized that, perhaps, the car was in an accident - but I could find NO traces of a repair, anywhere. Talking to a friend of mine, he told me to check the front bumper, and we confirmed that it was the original - as the build date was 10 days before my car (built, shipped, installed - makes sense)...So, I'm really not sure what the hell to believe. Tomorrow, the area meets my ball-peen.
Ignoring the clearance issue, it looks really nice:
Getting dark, cleaning up early to go see Transformers 2:
Big thanks goes out to Gene today, first for ordering that new boost nipple for me - and also for taking the time to sit there and help me figure out what the hell is with my car...perhaps we'll never know...
Any ideas guys? I'm 99% sure it wasn't in an accident - motor mounts, possible? Roll Restrictor? It has 35k on the clock, and was a rental when I bought it...
that is not a clearance issue on the car, thats is something some cobalts get, mne barely clears, i have maybe 1" from the pulley and the car, dragonfire's 2.4 he has to bend that part of the car(its aluminum) so that he woulnd thave any issues, i recommend u do the same, just draw out where u need more room, remove the blower, and hit it with a hammer a bit..it will be unnoticedable, on mine i had to bend a part aswell, but u wont notice it
Thanks for posting the diagram. I certainly appreciate it!
It is good to hear others have had this issue with clearance. I've read a lot of stuff about installing the supercharger and I've never seen anyone mention this. Maybe I overlooked it?
MP81 scared me, lol, so I test fitted mine quick and I can wrap my whole hand around it. I have about 3 or more inches between the pulley and that area... but I have G5 GT.
Thread Starter
Senior Member
iTrader: (2)
Joined: 07-10-08
Posts: 1,708
Likes: 3
From: Washington Township, MI
Sweet. Okay - makes me feel a TON better about this now.
Gonna go pull the blower off and whack that area down.
Thanks JN2!
This is one tough piece of metal...it doesn't help that the area is too small to get any power into the hammer...
Gonna go pull the blower off and whack that area down.
Thanks JN2!
This is one tough piece of metal...it doesn't help that the area is too small to get any power into the hammer...
Last edited by MP81; Jun 27, 2009 at 11:45 AM. Reason: Automerged Doublepost
yeah, im running stock belt on my 3.0" pulley, the stgII is a pita to run...ill probably use it for a 2.8, but for the 3.0 ill stick to stock

Senior Member
Joined: 12-11-07
Posts: 568
Likes: 1
From: Albany, NY

Senior Member
Joined: 07-29-05
Posts: 7,915
Likes: 0
From: AZ
im thinkin one of the other pullies on the system is bigger than on the LSJ...like the crank pulley so its too small on our cars.


i used the pulley boys tool to push the tensioner down though....i feel like i can use a stg2 belt with a 3.4" pulley using that tool...lol
Thanks for posting the diagram. I certainly appreciate it!
It is good to hear others have had this issue with clearance. I've read a lot of stuff about installing the supercharger and I've never seen anyone mention this. Maybe I overlooked it?
MP81 scared me, lol, so I test fitted mine quick and I can wrap my whole hand around it. I have about 3 or more inches between the pulley and that area... but I have G5 GT.
It is good to hear others have had this issue with clearance. I've read a lot of stuff about installing the supercharger and I've never seen anyone mention this. Maybe I overlooked it?
MP81 scared me, lol, so I test fitted mine quick and I can wrap my whole hand around it. I have about 3 or more inches between the pulley and that area... but I have G5 GT.
Last edited by HunterKiller89; Jun 27, 2009 at 08:21 PM. Reason: Automerged Doublepost
Thread Starter
Senior Member
iTrader: (2)
Joined: 07-10-08
Posts: 1,708
Likes: 3
From: Washington Township, MI
Well, hopefully I can use my Stage 2...I don't want to have to buy another belt...
Update for today, left for Hartland, MI at like 3, had fun out on the lake.
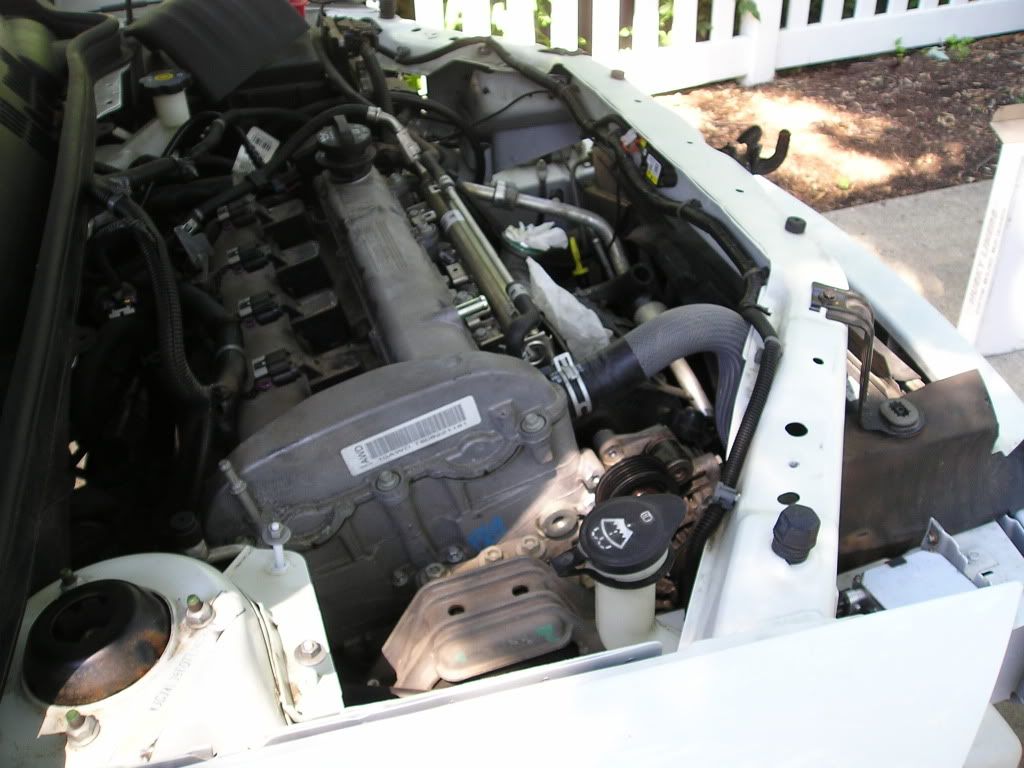
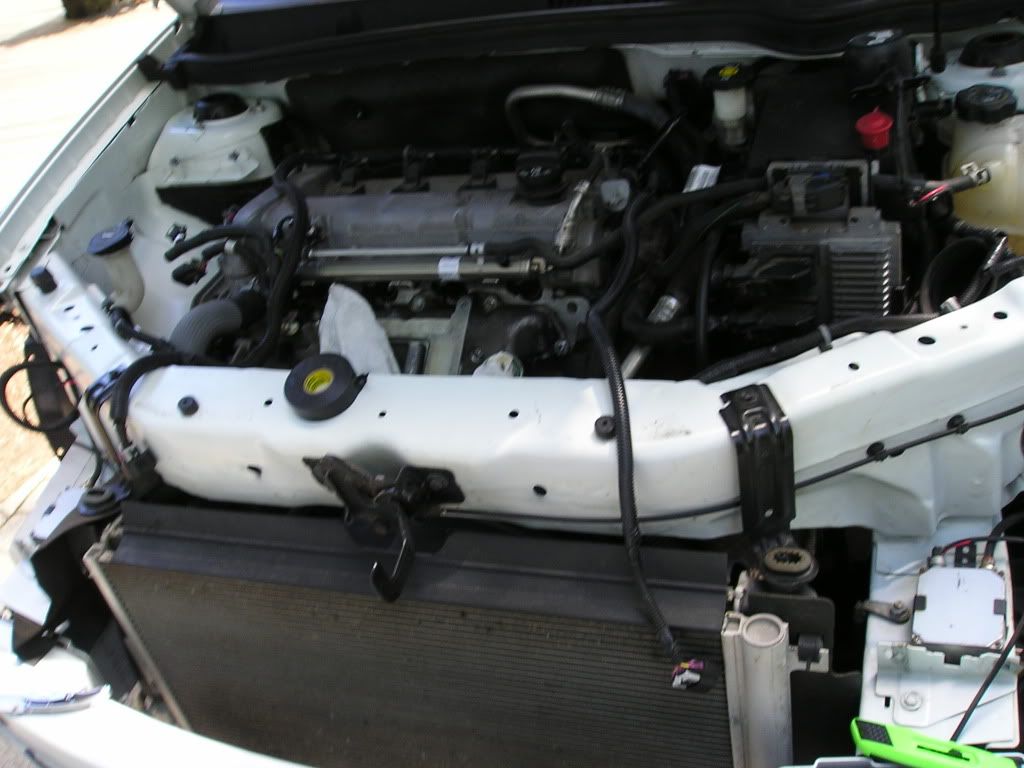
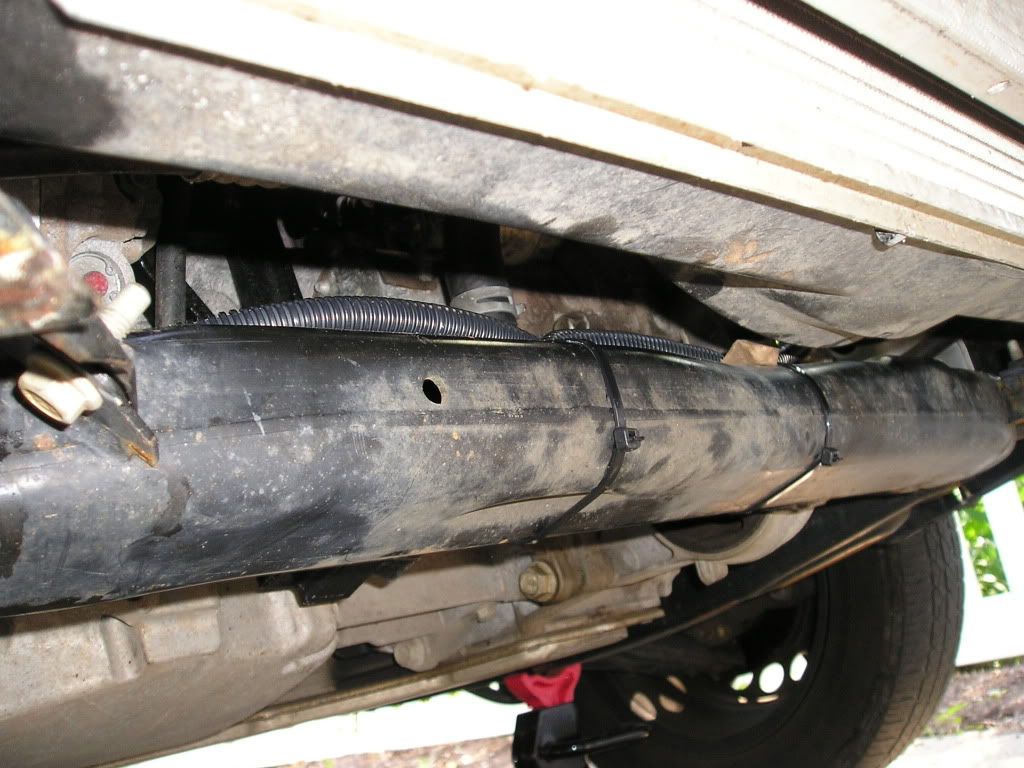
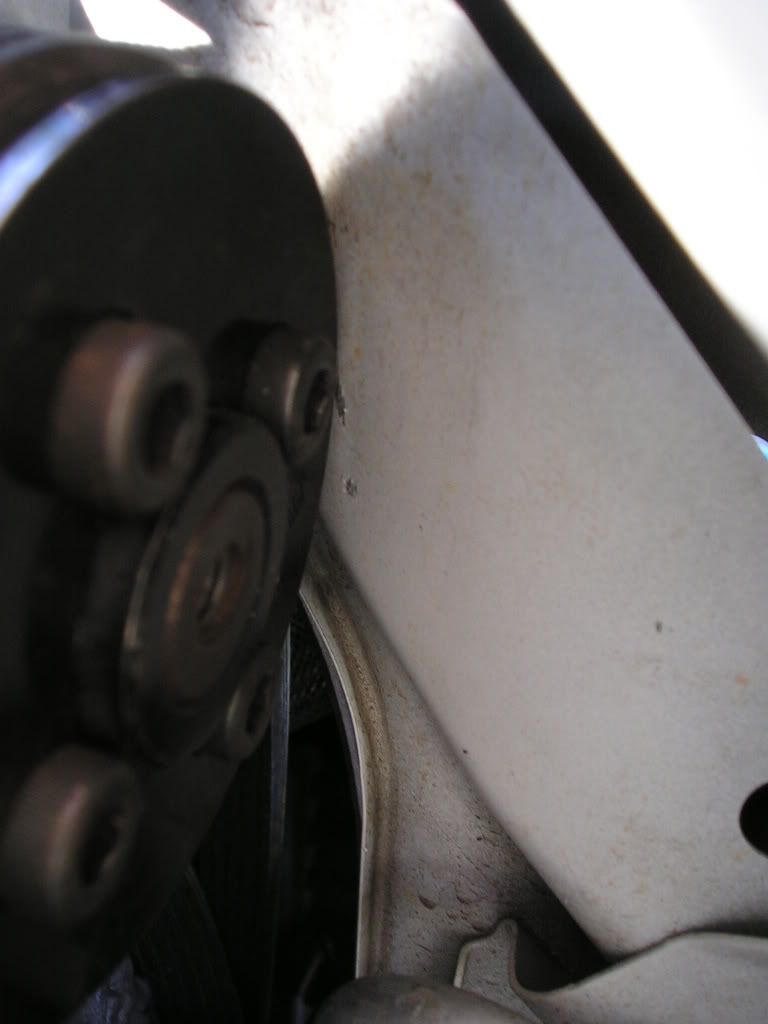
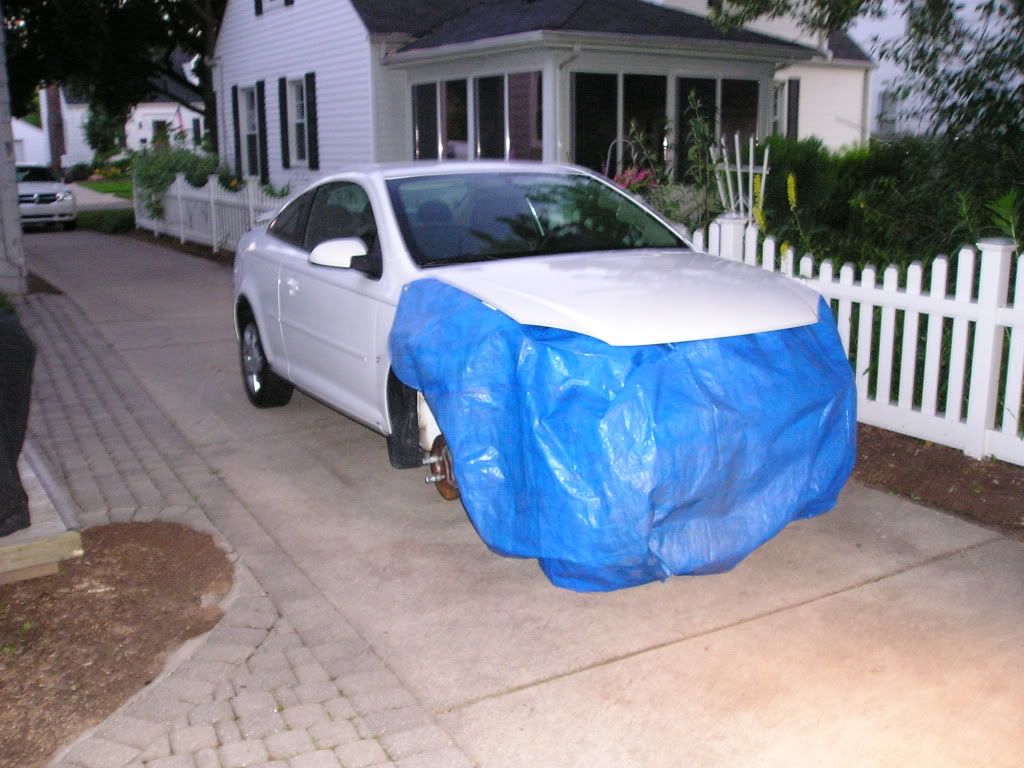
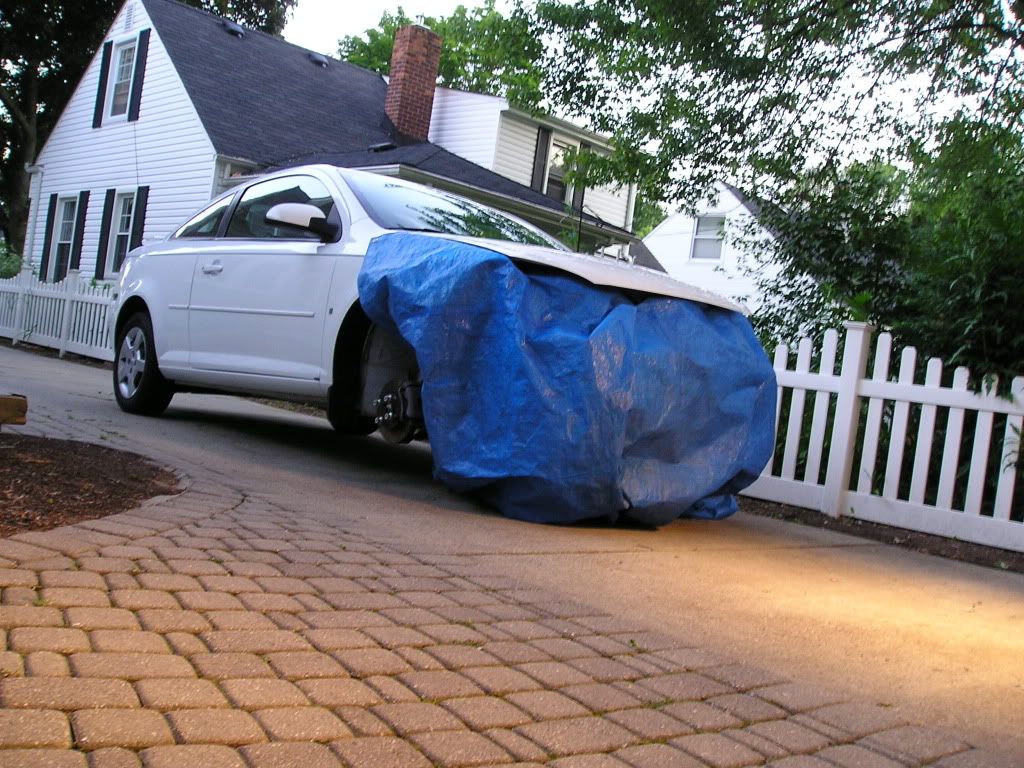
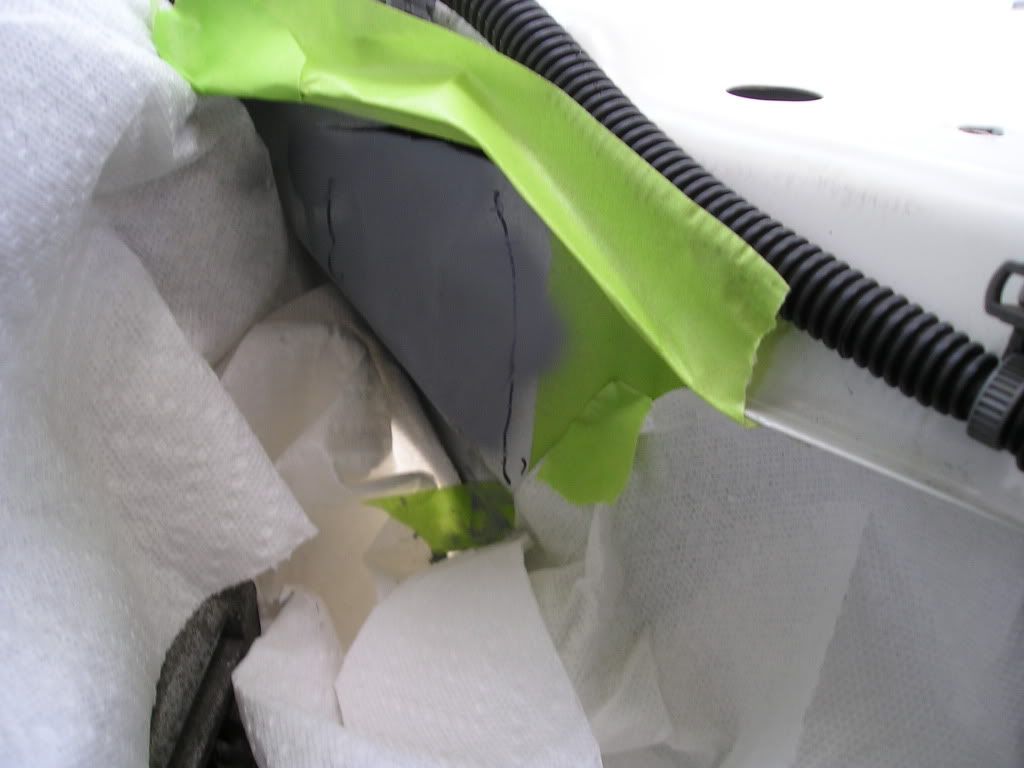
After finding the blower pulley was very close, if not hitting, the, what I'll call the core support, we marked up the area that needed to be clearanced (you can see the two rub marks inside the lines):
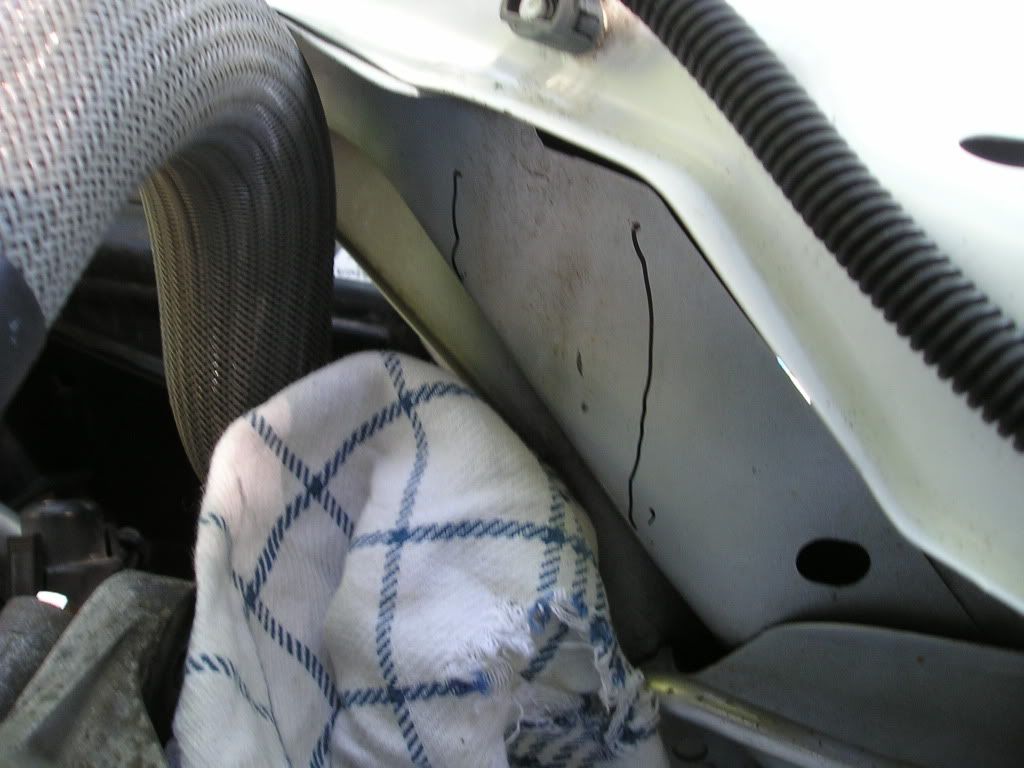
Also decided I would go ahead and file these down a little more, here's before I started filing today:
The Blower now fits with about 5mm clearance, instead of 1 - the belt is a tight fit, but it fits, especially since it'll be under tension:
Primered the spot, just so I don't have bare metal exposed:
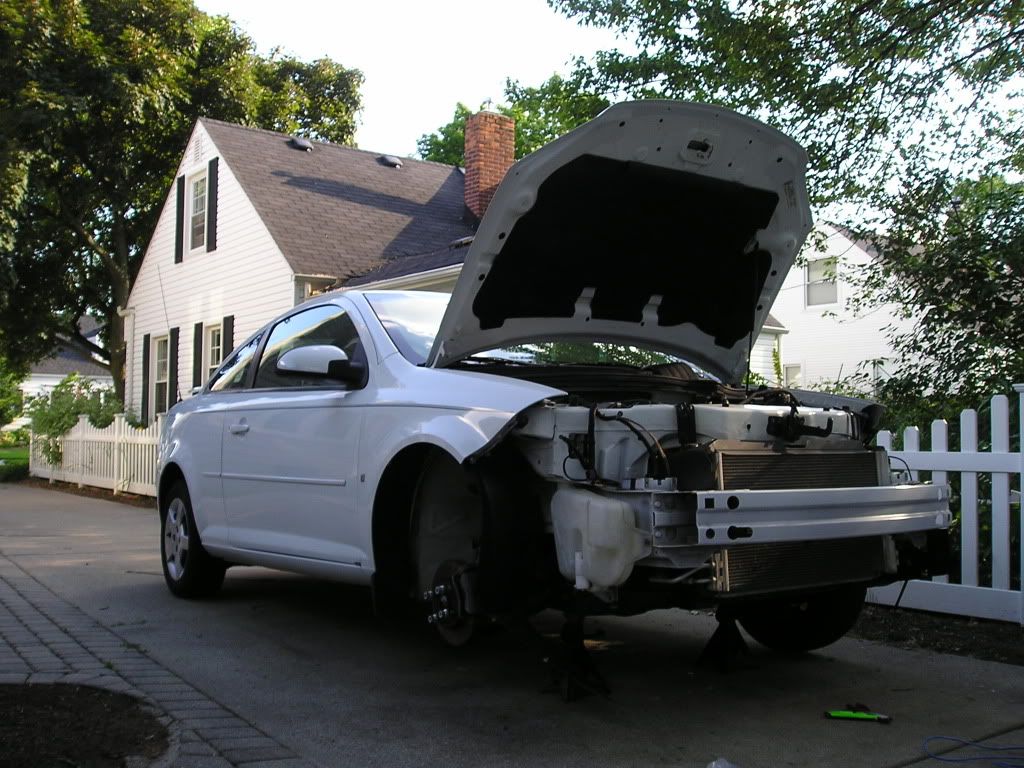
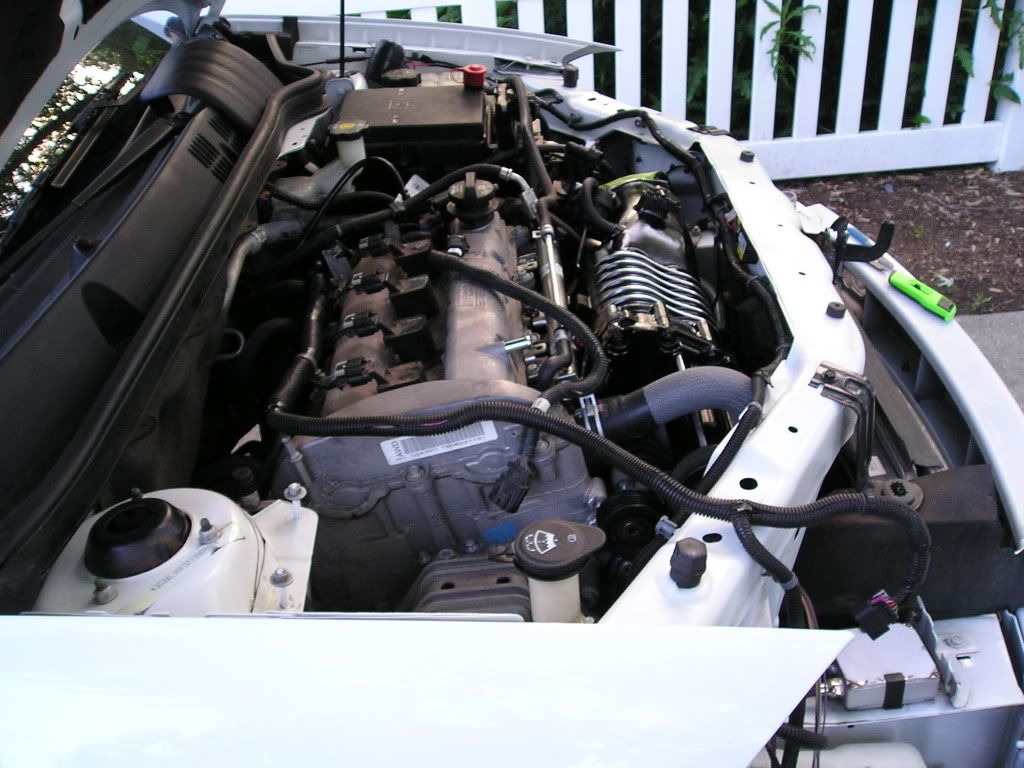
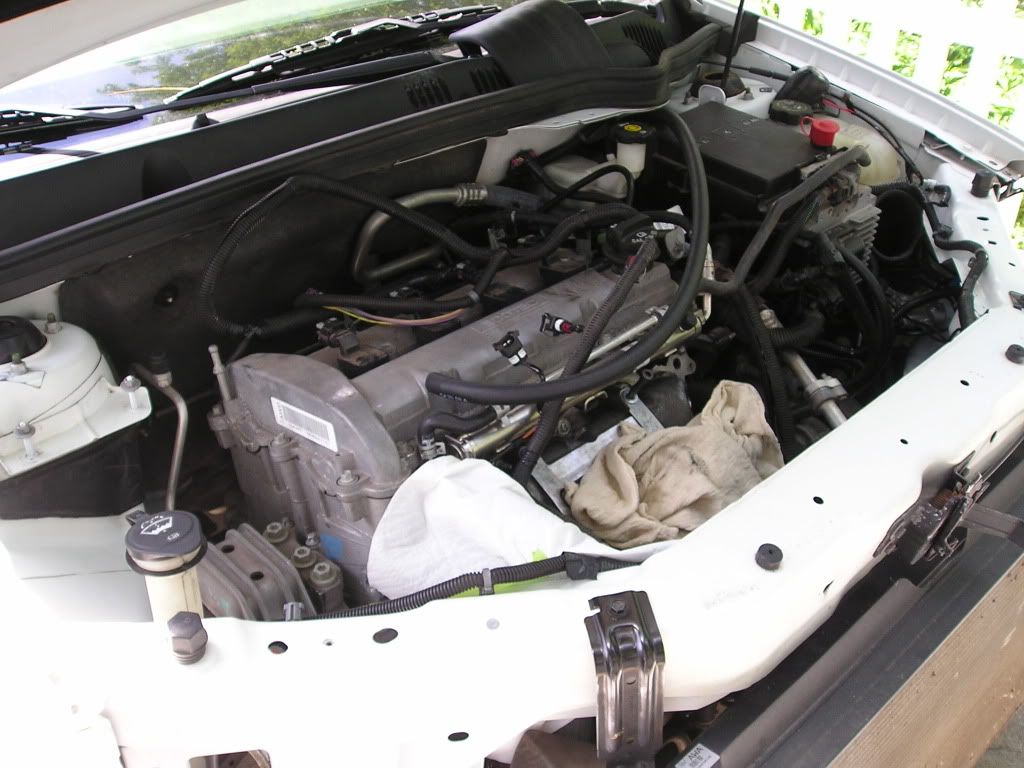
The engine bay as it sits now, sans supercharger and belt tensioner:
Not the best paint job, but it works. It's hard to get nice light even coats when you have an area to work in the size of the can...
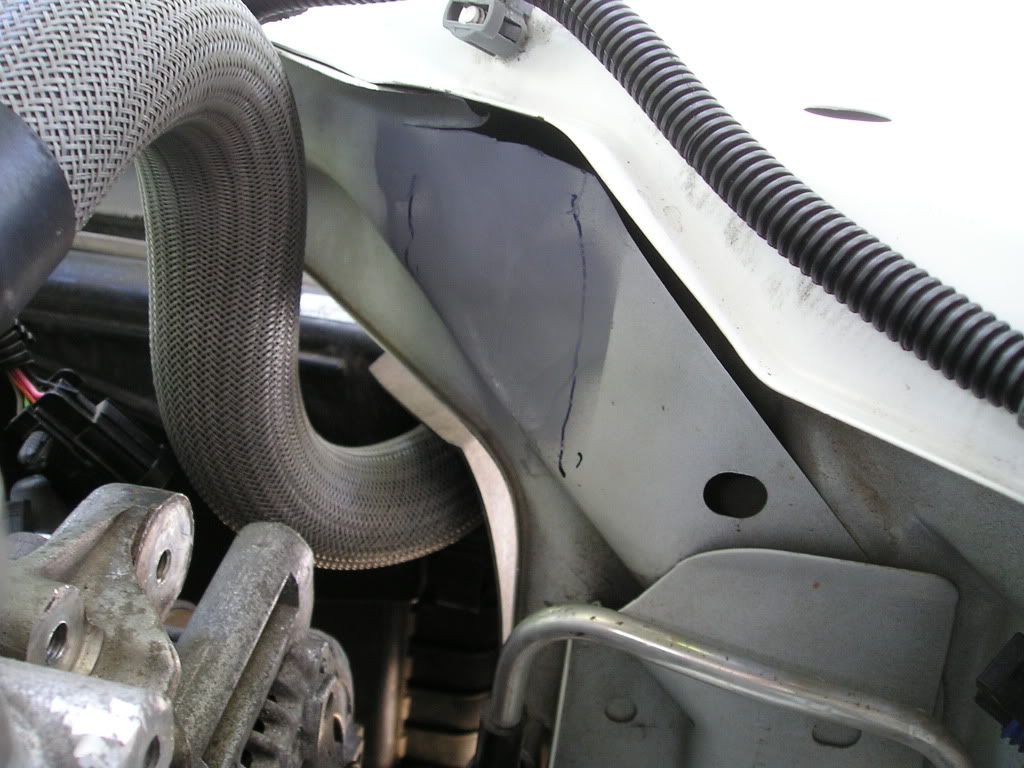
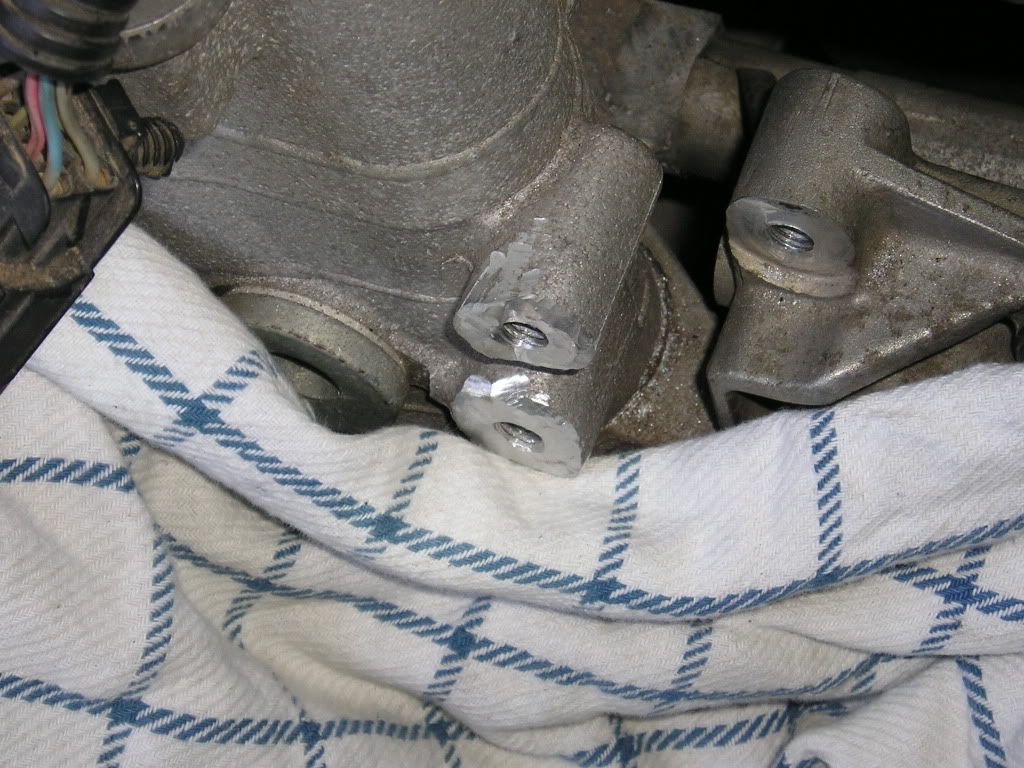
You can see the filed down engine lift mount in this shot:
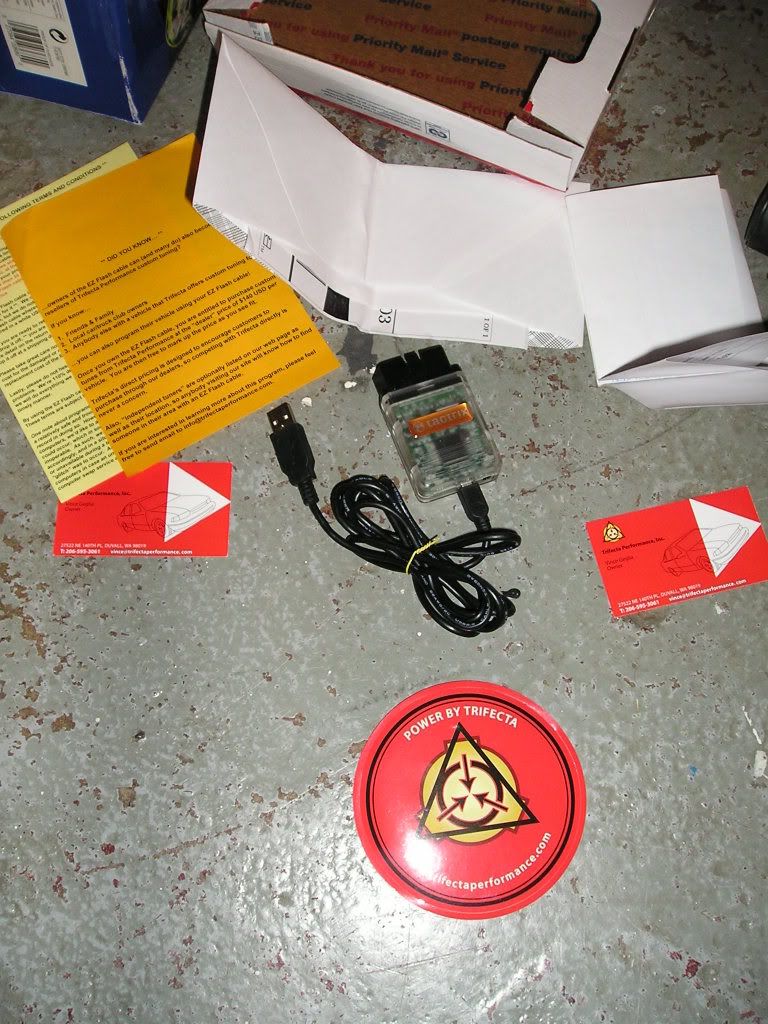
Also...got this...:
Update for today, left for Hartland, MI at like 3, had fun out on the lake.
After finding the blower pulley was very close, if not hitting, the, what I'll call the core support, we marked up the area that needed to be clearanced (you can see the two rub marks inside the lines):
Also decided I would go ahead and file these down a little more, here's before I started filing today:
The Blower now fits with about 5mm clearance, instead of 1 - the belt is a tight fit, but it fits, especially since it'll be under tension:
Primered the spot, just so I don't have bare metal exposed:
The engine bay as it sits now, sans supercharger and belt tensioner:
Not the best paint job, but it works. It's hard to get nice light even coats when you have an area to work in the size of the can...
You can see the filed down engine lift mount in this shot:
Also...got this...:
Senior Member
Joined: 07-29-05
Posts: 7,915
Likes: 0
From: AZ
because when we had the tensioner at what i thought was fully compressed the stg 2 belt fit just over the hub.
Thread Starter
Senior Member
iTrader: (2)
Joined: 07-10-08
Posts: 1,708
Likes: 3
From: Washington Township, MI
Well, I am a die hard GM man and their engineering normally is done for a reason. To ME, and as I said, just me, if they want a smaller belt, there is a reason. The stock belt is fine for someone who cannot get the stage 2 belt on... but since it is suggested by GM to do so, I will be using the pulley boys tensioner tool to fit the correct belt.
Last edited by Gene Culley; Jun 27, 2009 at 11:58 PM. Reason: Automerged Doublepost
Thread Starter
Senior Member
iTrader: (2)
Joined: 07-10-08
Posts: 1,708
Likes: 3
From: Washington Township, MI
I'm gonna make that Stage 2 belt fit, haha.
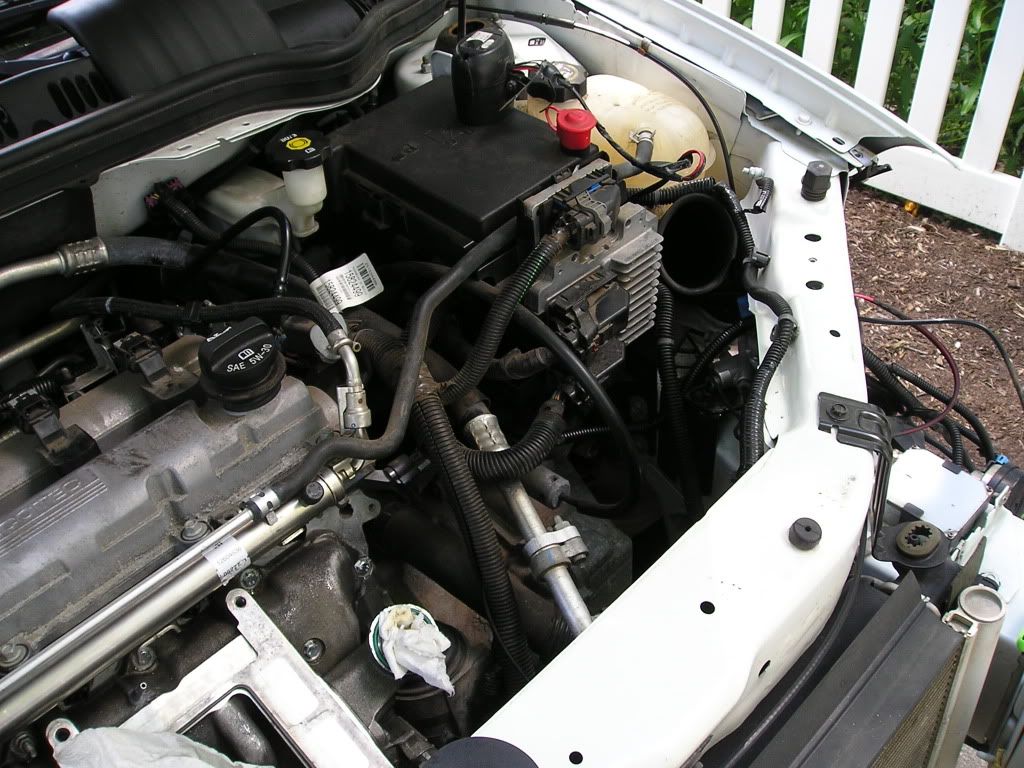
A friend came over and beat that area in more (easier for him than me, because it's not my car), and it has quite a bit more clearance.
I primed the area again, and just sprayed the first coat of Olympic White over (isn't that the same as Summit White? It seems to match pretty good).
A friend came over and beat that area in more (easier for him than me, because it's not my car), and it has quite a bit more clearance.
I primed the area again, and just sprayed the first coat of Olympic White over (isn't that the same as Summit White? It seems to match pretty good).
well if its a 14psi pulley, and im gettng all 14psi, than i dont see how it would be slipping, plus i asked a few lsj's, im not the only one running stock belt on a 3"
well if its a 14psi pulley, and im gettng all 14psi, than i dont see how it would be slipping, plus i asked a few lsj's, im not the only one running stock belt on a 3"
You will be able to see a drop in boost and hear the belt slipping if you have belt slip
Senior Member
Joined: 12-11-07
Posts: 568
Likes: 1
From: Albany, NY
Decided to play it safe and not have to worry about slip, if it even would have occurred. $20 OS tensioner pulley went on today with the 3.0 pulley without any bloodshed( thanks to Streetdreamz), just a little effort to get the tensioner pushed down. To each his own I suppose....