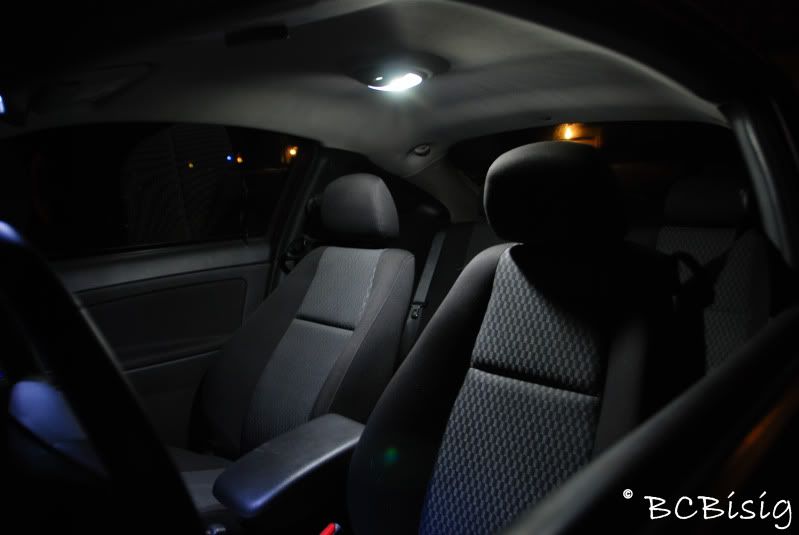
Interior: How to change cluster, HVAC control, window and door lock to LED


yeah it looked little more red with the bulbs colored. but as soon as i went to put it back together the left bulb blew for some reason.
so i decided to get another hvac and get the leds done.
should get the unit back next week completed.
so i decided to get another hvac and get the leds done.
should get the unit back next week completed.


i am the person whos unit got tested on this.
brandon installed white leds which i will put to my face that i painted the back red. so the white should shine thru the red and light it up a bright red as thats what happens with the stock bulbs.
pics for proof.
face

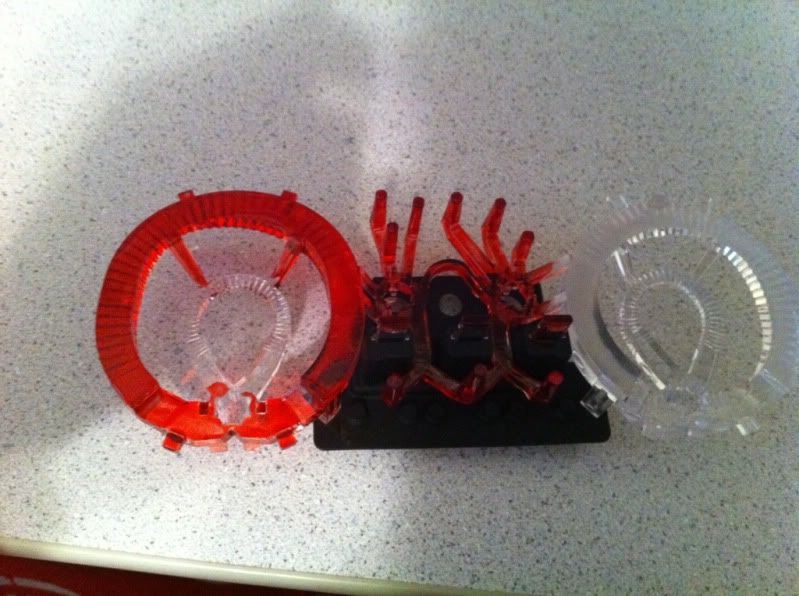
insides
stock bulbs with above pieces
end result
the pic above is with the spare hvac i got from ebay so i could send the OP my hvac i orig colored the bulbs red but one blew so i decided to give led a try altho like he said red wont work.

try this
Lithographers Tape, 3M 616 in Stock - ULINE.ca
I haven't used it for this purpose but we used to use ruby lith tapes and sheets in the printing industry when we still used film.
Lithographers Tape, 3M 616 in Stock - ULINE.ca
I haven't used it for this purpose but we used to use ruby lith tapes and sheets in the printing industry when we still used film.
[QUOTE=hey man, what leds did u use for the window/ door lock switches and the stteering wheel controls?[/QUOTE]
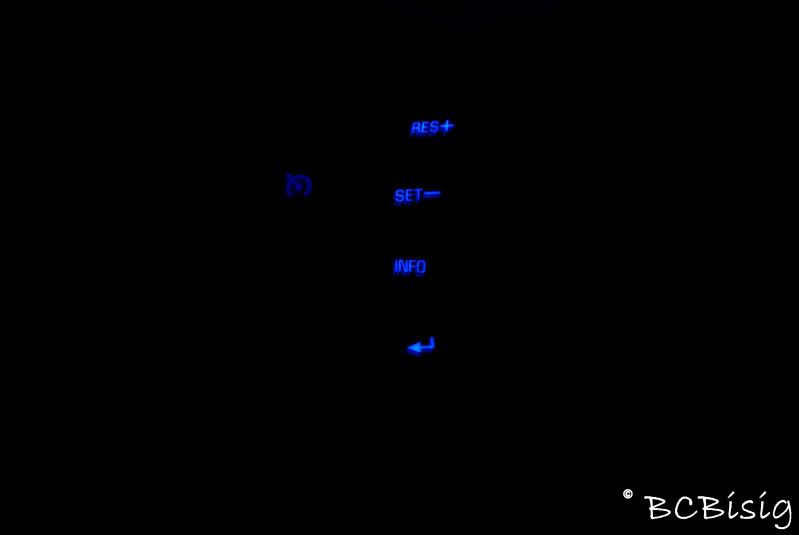
you need Blue 0805 SMT LED for steering wheel and the same 3mm ones i used in everything else.
you need Blue 0805 SMT LED for steering wheel and the same 3mm ones i used in everything else.


Senior Member
Joined: 12-05-10
Posts: 3,877
Likes: 3
From: newmarket
In this write up you will learn how to switch various interior pieces to LED's. For these projects all you need is basic tools to dissasemble car. A good soldering iron, fine solder( I use .032"), 12 volt leds ( 9 for IP cluster, 4 for HVAC control, 4 for coupe driver switches or 6 for sedan, and 2 for passenger switches, and one for each rear for sedan.). You will also need time and some decent soldering skills.
I will use a HVAC control head for the how-to on a 2009 but should apply the same to all years.
first step is to remove the HVAC control head
Preliminary Procedure
�Remove the instrument panel trim plate -- right side. Refer to Instrument Panel Trim Panel Replacement - Right Side .
�Remove the instrument panel trim panel -- center. Refer to Instrument Panel Center Trim Plate Replacement .
Instrument Panel Trim Plate Assembly
Procedures
�Pull out on the trim panel in order to release the retaining fasteners.
�Disconnect the electrical connectors.
�Remove the HVAC control module assembly screws.
�Remove the HVAC control module assembly.
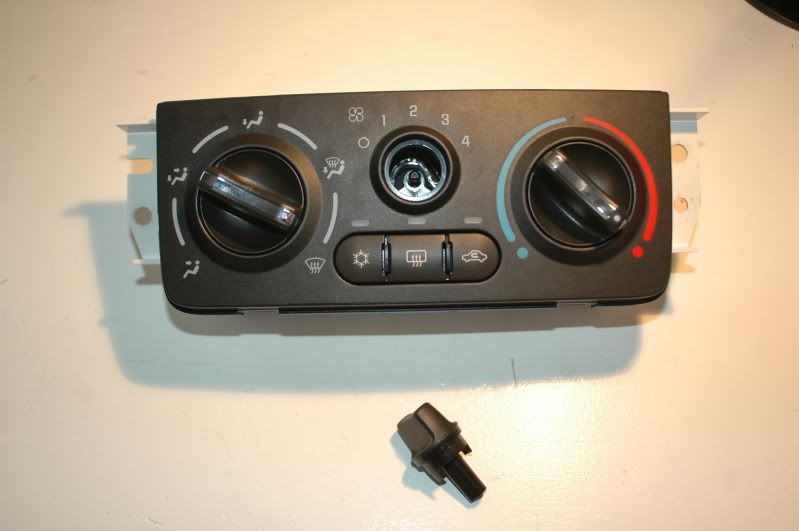
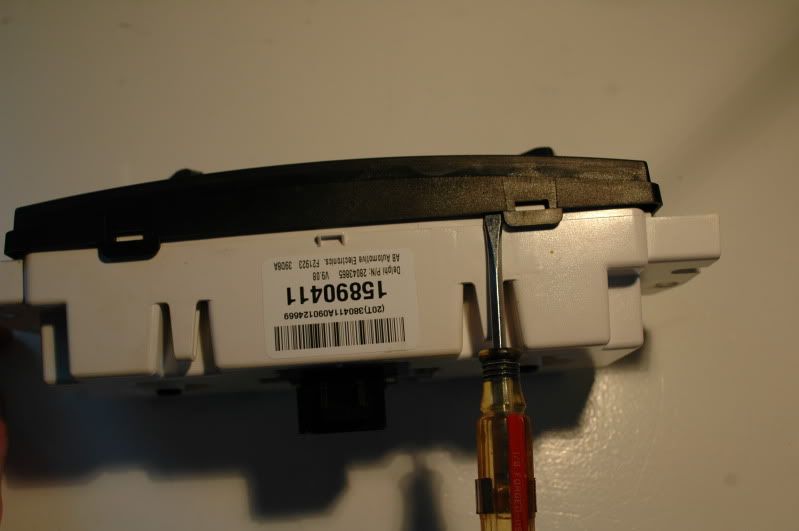
With that removed you'll want to pull the blower speed knob off. With that off take a small flat bladed screw driver and pry and the four clips carefully. The temp and mode knobs are attached to the faceplate of the the module and do not need to be seperatly removed.
1.
2.
3.
4.

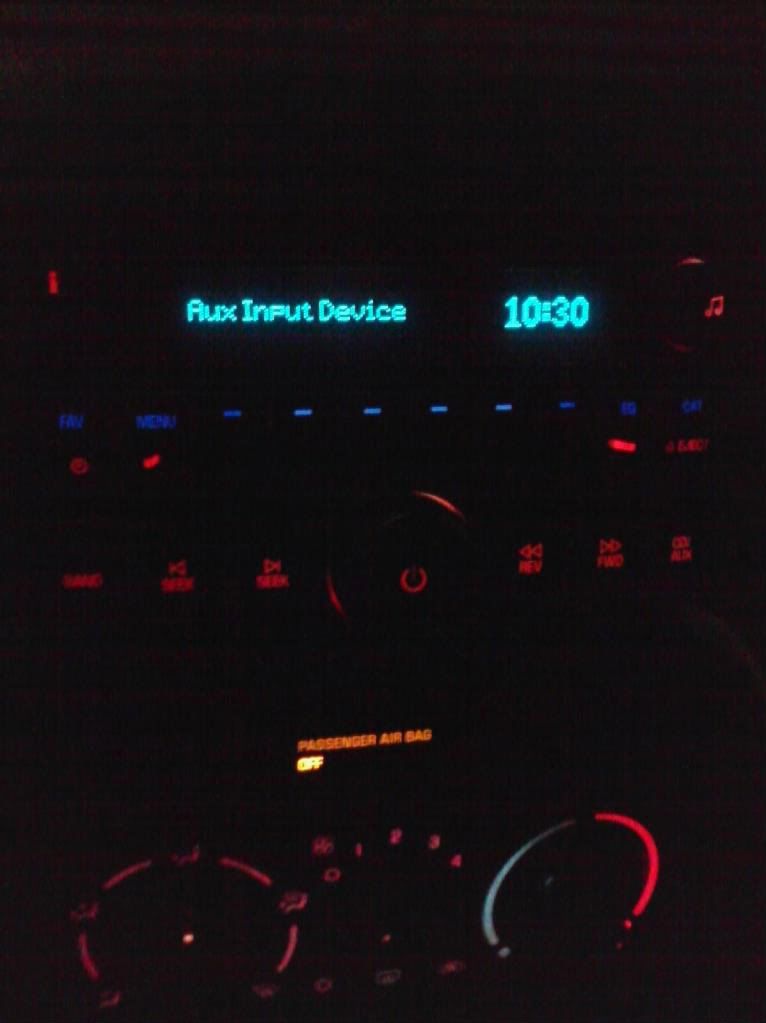
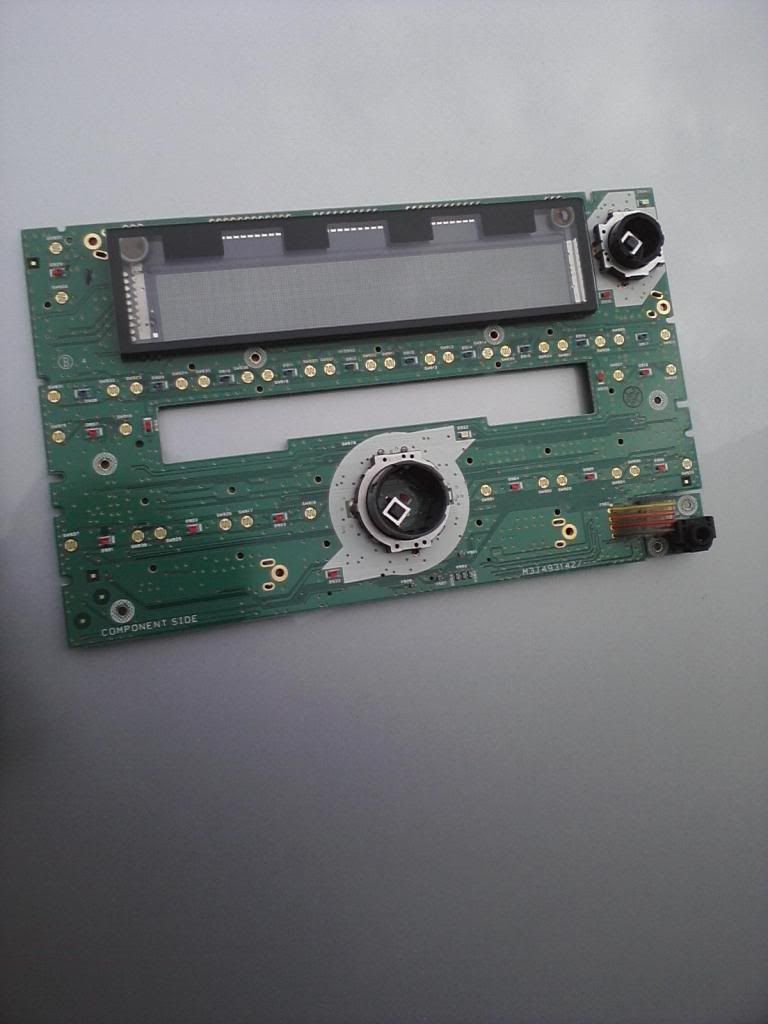
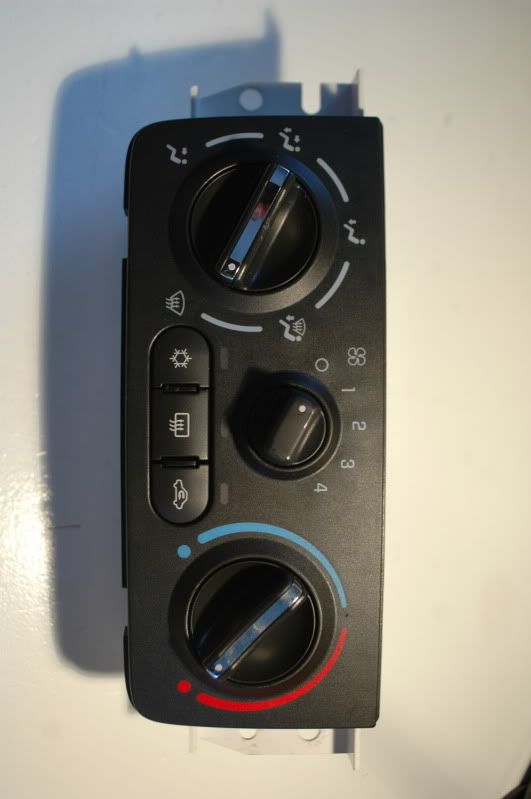
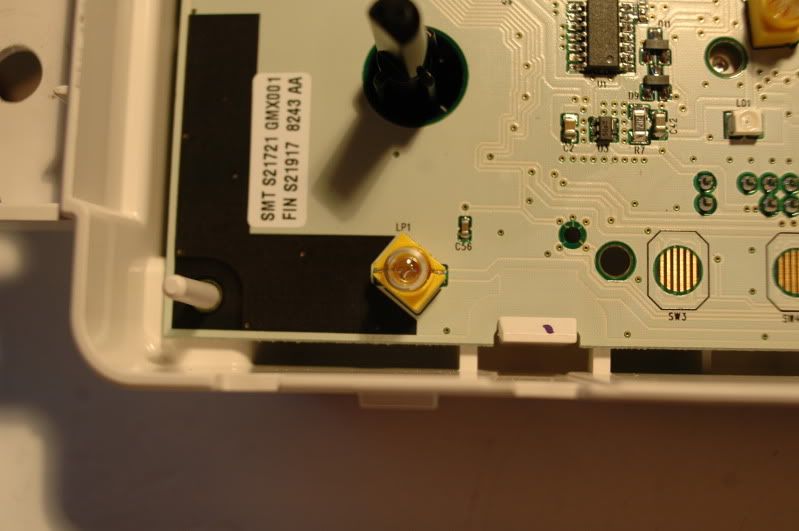
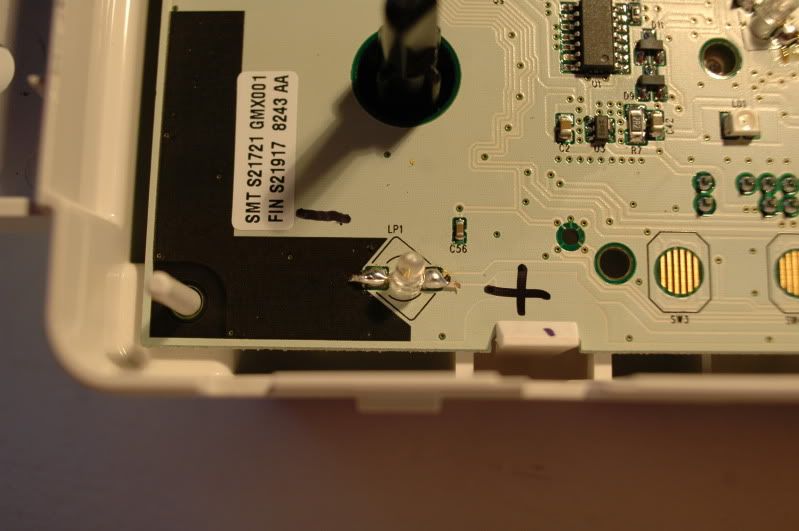
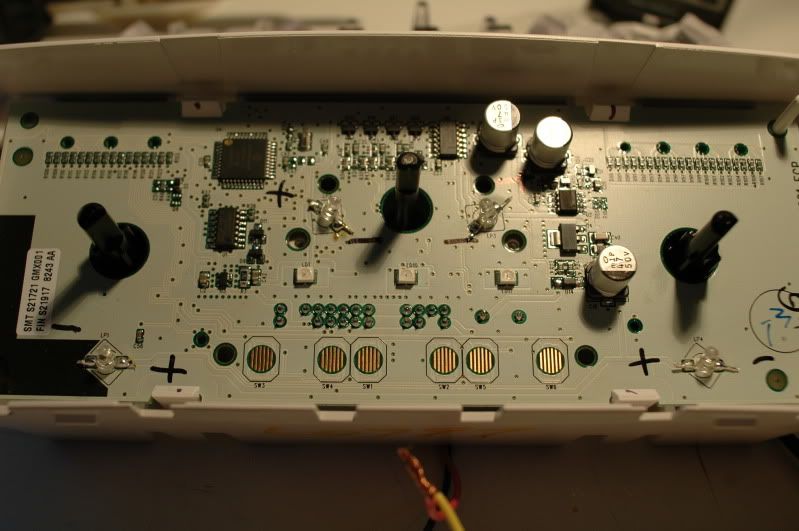
Now thats it apart you can use my pictures for reference, it may be alot easier. I have pictured the unit powered on with factory bulbs in place. I also went through and marked the boards positve and negative sides which is very important because LED's are Diodes and only work one way.
5.

You will want a pretty fine point on a soldering iron for these tasks now. You'll want to take the iron and either a small screwdriver, knife, pair of plies or what ever you want to pull/ pry the old light off carefully while appling heat to the solder. Now, all the parts in all the various interior pieces are surface mount which means they are all soldered on the side of the board that the component mounts.
6.
With all the bulbs removed take your 12 volt LED's and configure the legs to come in contact with the solder pads. Note to find an leds positve and negative look here LED Polarity Tester .
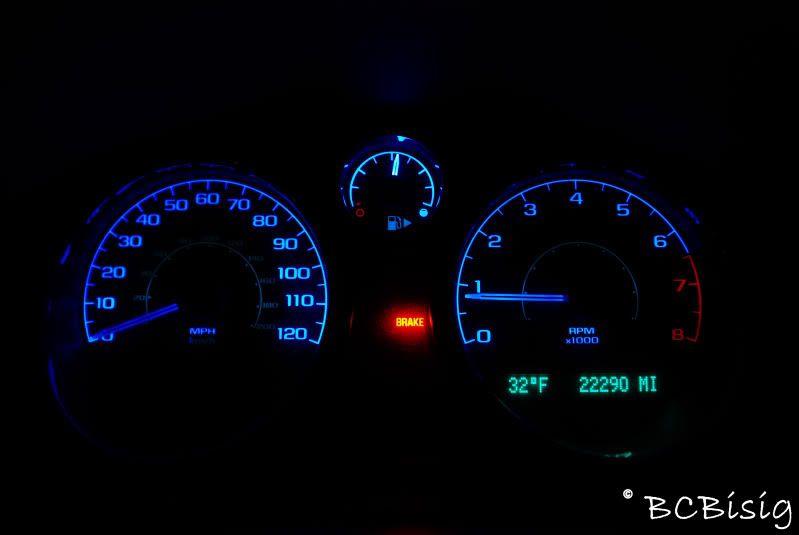
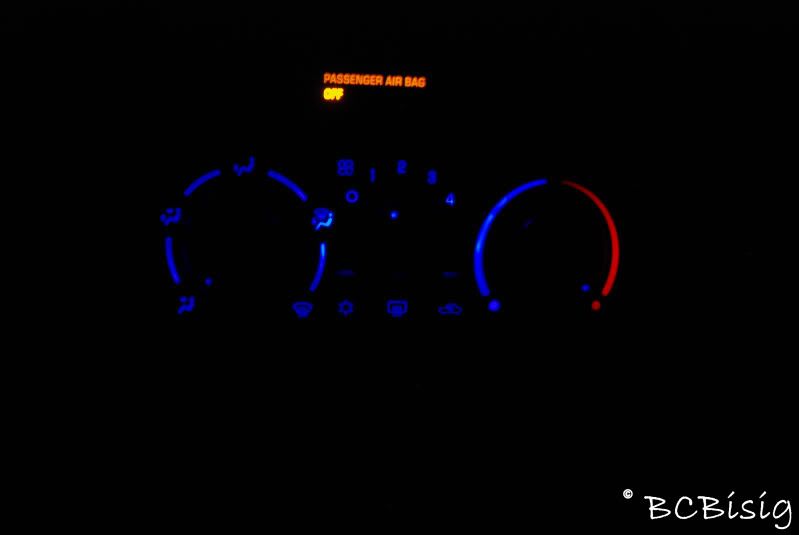
With all the LEDs soldered in you should come up with this
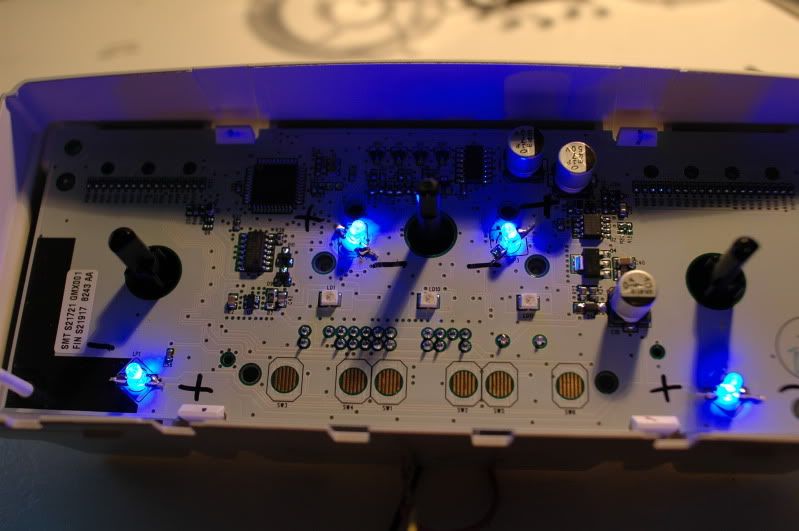
7.
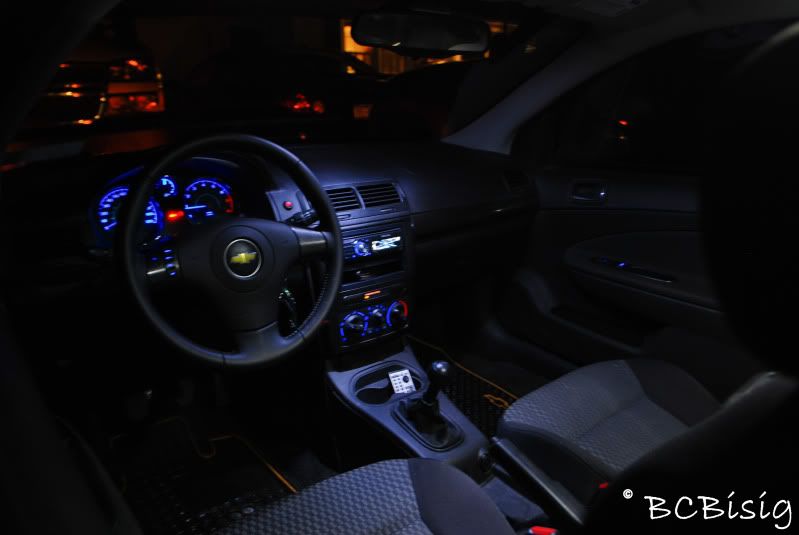
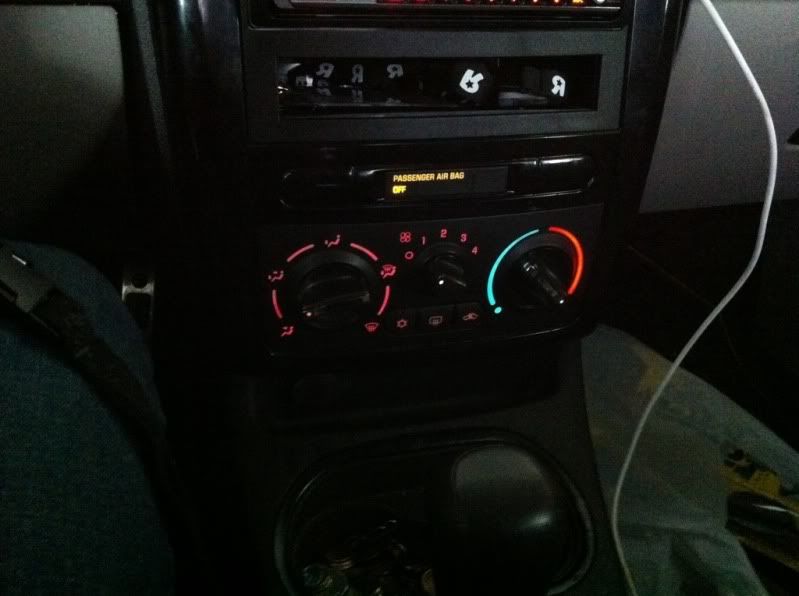
Now you can reverse all the steps off dissasembly and end up with this. note the red heat portion will not be as bright with blue leds but you can still see it just the picture did not come out well.
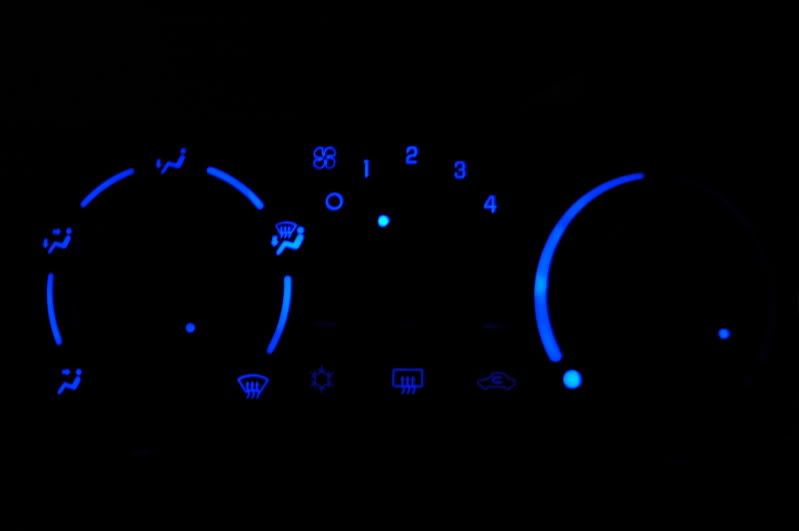
8.
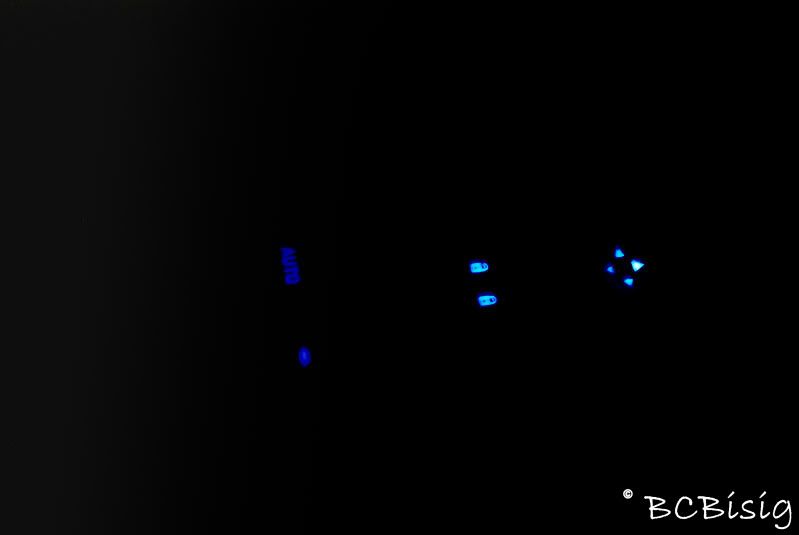
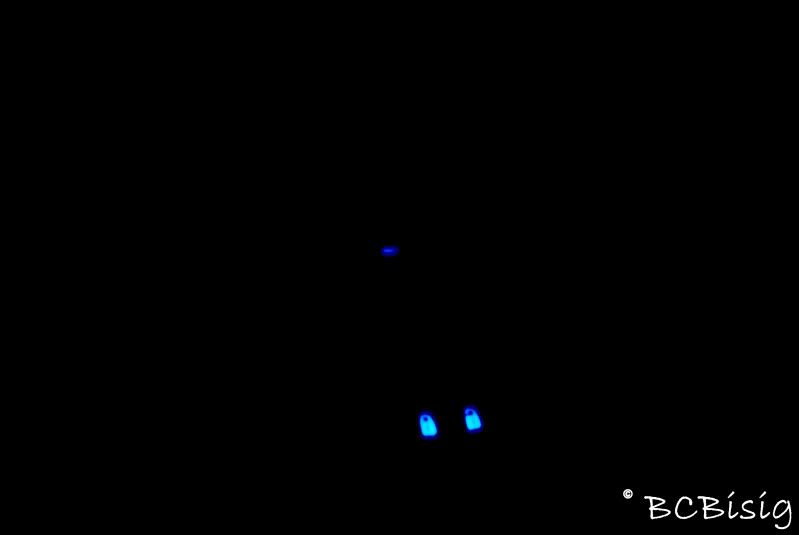
Reinstall in vehicle by reversing all previous steps. Now this write up applies to the IP cluster, HVAC control, Window switches, and lock switches. You just have to adjust accordingly to which project you are on.
DISCLAIMER: I am not responsible for any damages made to your vehilce im am only doing this for a guide on how to accomplish what I have done.
I will use a HVAC control head for the how-to on a 2009 but should apply the same to all years.
first step is to remove the HVAC control head
Preliminary Procedure
�Remove the instrument panel trim plate -- right side. Refer to Instrument Panel Trim Panel Replacement - Right Side .
�Remove the instrument panel trim panel -- center. Refer to Instrument Panel Center Trim Plate Replacement .
Instrument Panel Trim Plate Assembly
Procedures
�Pull out on the trim panel in order to release the retaining fasteners.
�Disconnect the electrical connectors.
�Remove the HVAC control module assembly screws.
�Remove the HVAC control module assembly.
With that removed you'll want to pull the blower speed knob off. With that off take a small flat bladed screw driver and pry and the four clips carefully. The temp and mode knobs are attached to the faceplate of the the module and do not need to be seperatly removed.
1.
2.
3.
4.
Now thats it apart you can use my pictures for reference, it may be alot easier. I have pictured the unit powered on with factory bulbs in place. I also went through and marked the boards positve and negative sides which is very important because LED's are Diodes and only work one way.
5.
You will want a pretty fine point on a soldering iron for these tasks now. You'll want to take the iron and either a small screwdriver, knife, pair of plies or what ever you want to pull/ pry the old light off carefully while appling heat to the solder. Now, all the parts in all the various interior pieces are surface mount which means they are all soldered on the side of the board that the component mounts.
6.
With all the bulbs removed take your 12 volt LED's and configure the legs to come in contact with the solder pads. Note to find an leds positve and negative look here LED Polarity Tester .
With all the LEDs soldered in you should come up with this
7.
Now you can reverse all the steps off dissasembly and end up with this. note the red heat portion will not be as bright with blue leds but you can still see it just the picture did not come out well.
8.
Reinstall in vehicle by reversing all previous steps. Now this write up applies to the IP cluster, HVAC control, Window switches, and lock switches. You just have to adjust accordingly to which project you are on.
DISCLAIMER: I am not responsible for any damages made to your vehilce im am only doing this for a guide on how to accomplish what I have done.
Senior Member
Joined: 12-05-10
Posts: 3,877
Likes: 3
From: newmarket