
For discussion of all things Powell!!


Its not money, its just difficult to find PSW to work beleive it or not. I had to cancel out of Steddy and Sara's wedding and that was a downer. Mum gets around no problem, but there are a couple of issues: she is British, so she would starve to death if she was normal ,as the British cant cook.
But she is 98, so she has reached the stage where she forgets to eat anyway, even if she could remember how to cook lol.
But she is 98, so she has reached the stage where she forgets to eat anyway, even if she could remember how to cook lol.
No one has ever talked about "tarts" except my very British late grand mother
and
you
You'll make it down here or I'll make it up there. Don't sweat it.


bring car to where you will work on it. before doing anything, loosen main shaft nut so the nyloc is clear of the shaft while still threaded on.
jack car up put on stands.
remove wheel
place jack under ball joint. compress lightly. remove drop link and loosen lower strut nuts.
remove top strut nut.
lower strut assembly, drive out lower strut bolts and remove strut assembly
clean and replace with new spring, orienting spring hat tab to 12 o clock facing inner fender.
install strut assembly carefully putting lower strut bolts in place. then with a screwdriver or punch centering the strut shaft through the top strut mount, making sure the bearing and strut spring hat is in place, jack assembly back up guiding the shaft through the mount so it does not catch on the threads.
put strut nut on hand tight.
replace all parts torque all nuts except top strut nut. torque that when the car is lowered back down, after installing wheels etc.

^ that works great, did that last time I swapped springs after the cheap spring compressor broke (thankfully no one was hurt and the spring didnt launch and now I have a much stronger and better spring compressor)

Junior Member
Joined: 09-14-09
Posts: 462
Likes: 0
From: AB, Canada
bring car to where you will work on it. before doing anything, loosen main shaft nut so the nyloc is clear of the shaft while still threaded on.
jack car up put on stands.
remove wheel
place jack under ball joint. compress lightly. remove drop link and loosen lower strut nuts.
remove top strut nut.
lower strut assembly, drive out lower strut bolts and remove strut assembly
clean and replace with new spring, orienting spring hat tab to 12 o clock facing inner fender.
install strut assembly carefully putting lower strut bolts in place. then with a screwdriver or punch centering the strut shaft through the top strut mount, making sure the bearing and strut spring hat is in place, jack assembly back up guiding the shaft through the mount so it does not catch on the threads.
put strut nut on hand tight.
replace all parts torque all nuts except top strut nut. torque that when the car is lowered back down, after installing wheels etc.
jack car up put on stands.
remove wheel
place jack under ball joint. compress lightly. remove drop link and loosen lower strut nuts.
remove top strut nut.
lower strut assembly, drive out lower strut bolts and remove strut assembly
clean and replace with new spring, orienting spring hat tab to 12 o clock facing inner fender.
install strut assembly carefully putting lower strut bolts in place. then with a screwdriver or punch centering the strut shaft through the top strut mount, making sure the bearing and strut spring hat is in place, jack assembly back up guiding the shaft through the mount so it does not catch on the threads.
put strut nut on hand tight.
replace all parts torque all nuts except top strut nut. torque that when the car is lowered back down, after installing wheels etc.
Awesome thanks for the quick reply! Ill post up a review after I install the springs and hardcore bar

Senior Member
iTrader: (4)
Joined: 01-12-10
Posts: 2,692
Likes: 171
From: Greater Denver Area, Colorado

I was installing my koni struts/shocks and YYZ v3 springs today. Did the rear and it went flawlessly took me about an hour by myself. Went to do the fronts and the swaybar endlinks decided to ruin my plan and rather than the nut coming loose from the strut the bolt broke the rubber and is spinning. Got to pick up new ones tomorrow and cut off the old ones. My front is riding about 1'' higher than the rear at the moment though.
Drop links are a pain. I keep power grids on the shelf and used spare stock ones for guys tight on money. I also keep PC used knuckles and new bearings because they are a pita as well. Sorry for your trouble you are not alone
Junior Member
Joined: 09-14-09
Posts: 462
Likes: 0
From: AB, Canada
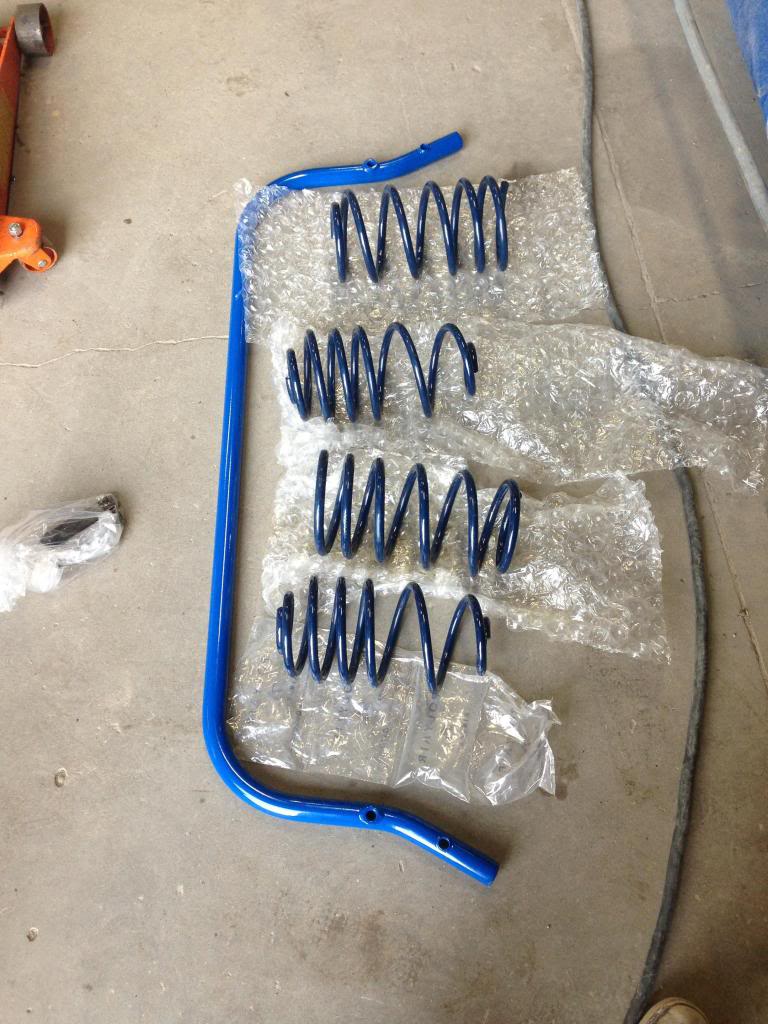
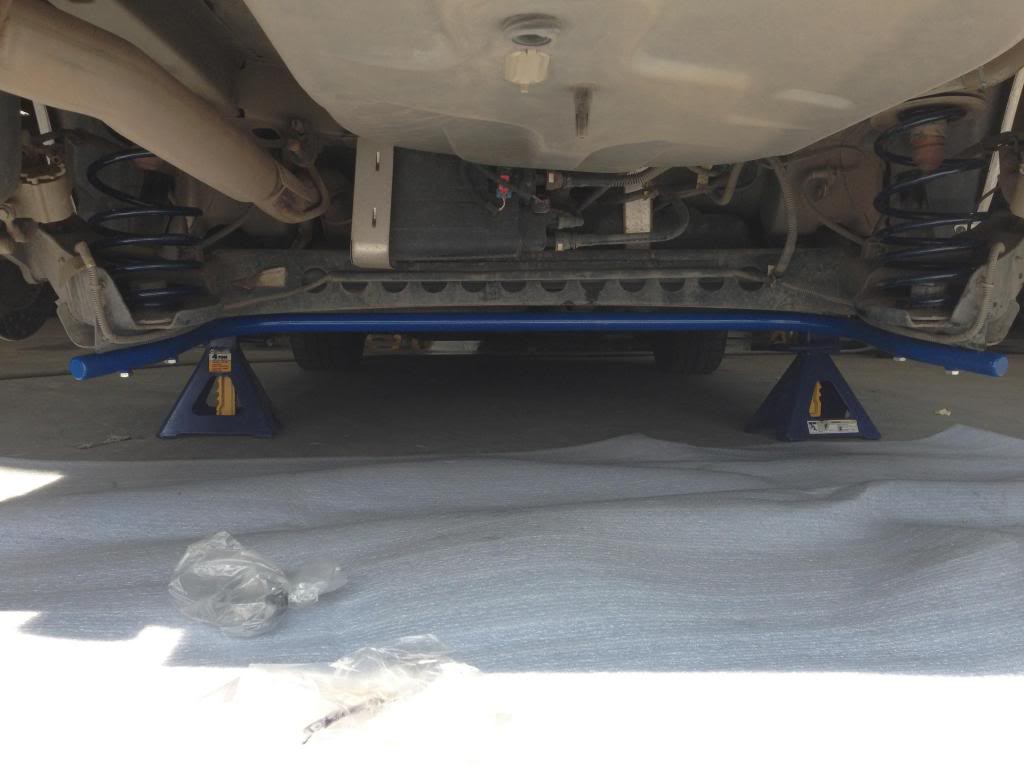
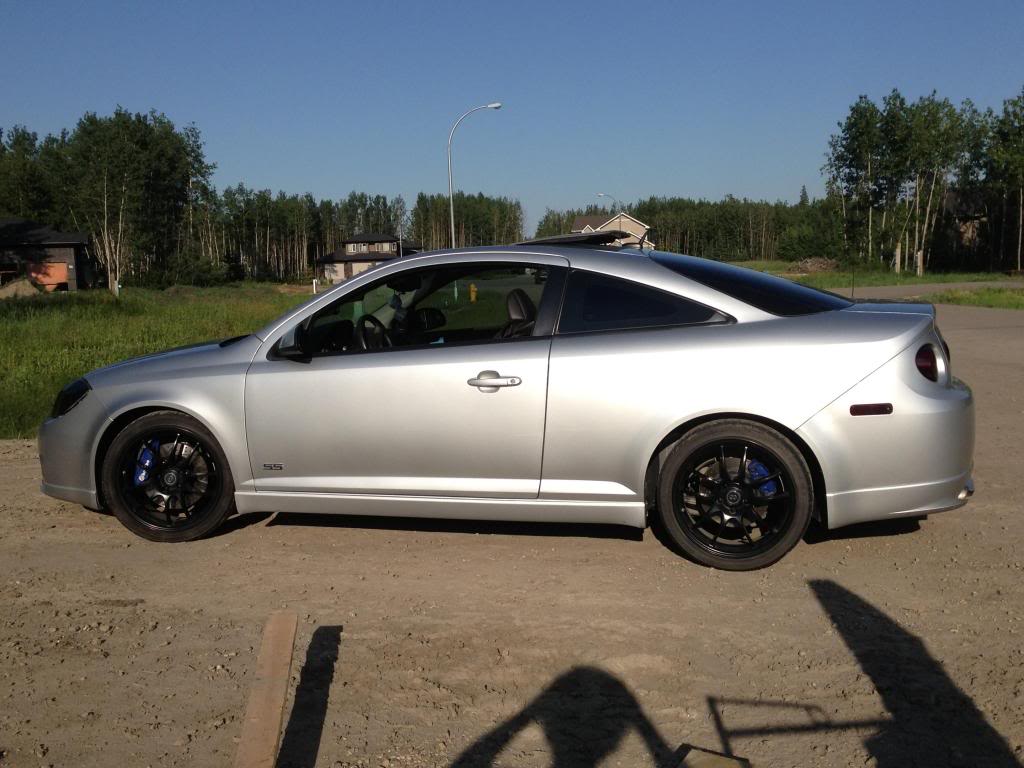
So I got my YYZ springs as well as my hardcore rear bar installed over the weekend, and wow! Car feels night and day different from my old Sportlines. Ride is 100% improved and id say on par with stock, although it has been awhile since my car was stock  The turn in is much sharper and under steer is all but gone, car is much more neutral. Ill get a chance to try out some more aggressive driving this weekend at my first autocross event
  the only thing I don't like about them is how much higher the rear sits, which really isn't that big of a deal and I'm probably the only one who will notice lol bottom line 9/10 highly recommend!
Side note: When installing I'd recommend changing the fronts without a spring compressor as detailed by John above /\ much easier and way faster (well for me at least)
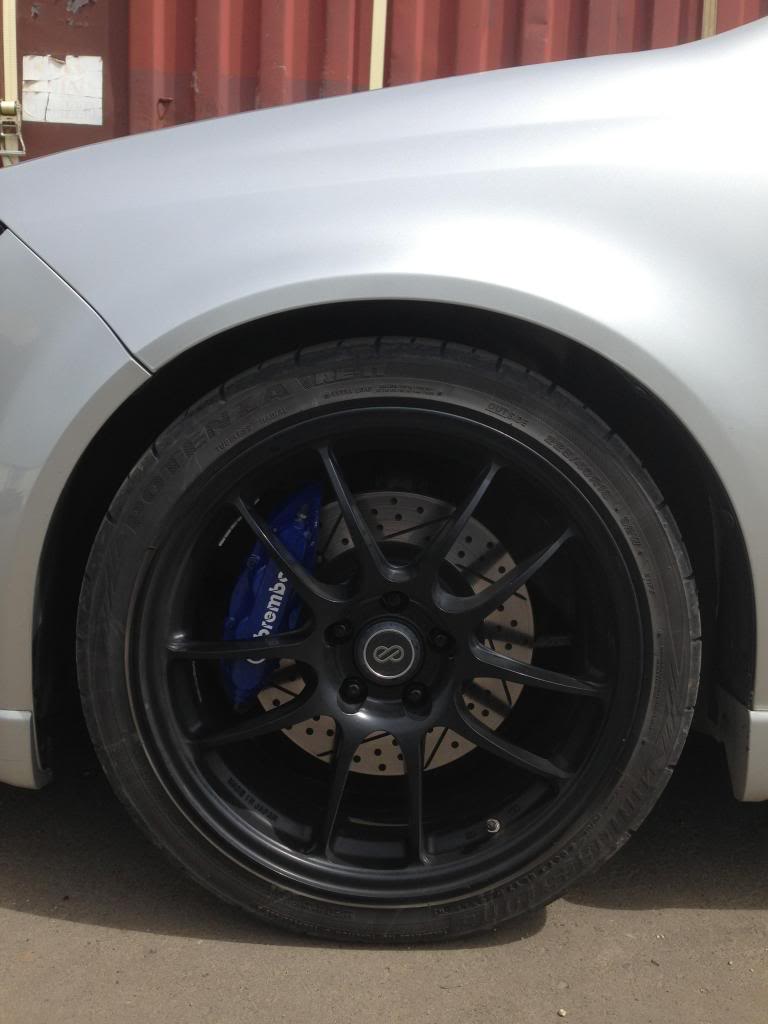
Now on too the pics!
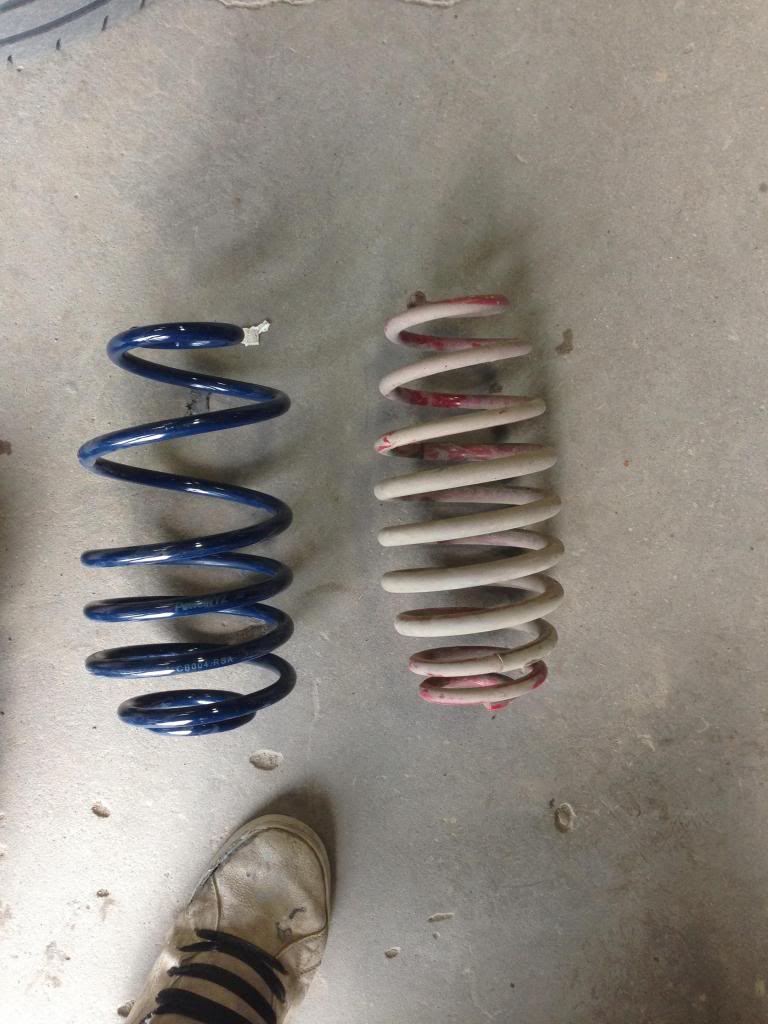
On Sportlines
YYZ


the only thing I don't like about them is how much higher the rear sits, which really isn't that big of a deal and I'm probably the only one who will notice lol bottom line 9/10 highly recommend!Side note: When installing I'd recommend changing the fronts without a spring compressor as detailed by John above /\ much easier and way faster (well for me at least)
Now on too the pics!


On Sportlines

YYZ


 just when I thought I might be getting bored with it and you made me fall in love all over again! Thanks again!
I got some. you want some? email me orders@powellraceparts.com ships tomorrow lol
Junior Member
Joined: 09-14-09
Posts: 462
Likes: 0
From: AB, Canada

Senior Member
Joined: 01-20-09
Posts: 4,319
Likes: 0
From: Michigan
I got some. you want some? email me orders@powellraceparts.com ships tomorrow lol
Figured it would be best not to ruin a good set of sway bar end links

the zinc plating on Powergrids is really a cad plating I think, and it stands up better than zinc on the powergrids. Salt screws everything thats why I no longer drive the RL in winter and I have replaced all the parts that did get salt covered the one winter i used it.
I now use 10.9 cad plated bolts in our sway bar hardware packages. I tried stainless, which resists corrosion very well, but the bolts are as weak as grade 5 and more brittle so stopped.
The wntrbtr2 a SAAB 9-5 is stellar for corrosion resistance. But I wash it a lot in winter, and I oil it underneath prior to winter. The rear muffler will probably succumb first to salt, but the main system is good quality stainless and stands up well. LNF downpipes stand up well to winter I have found...

